How to Break in Work Shoes
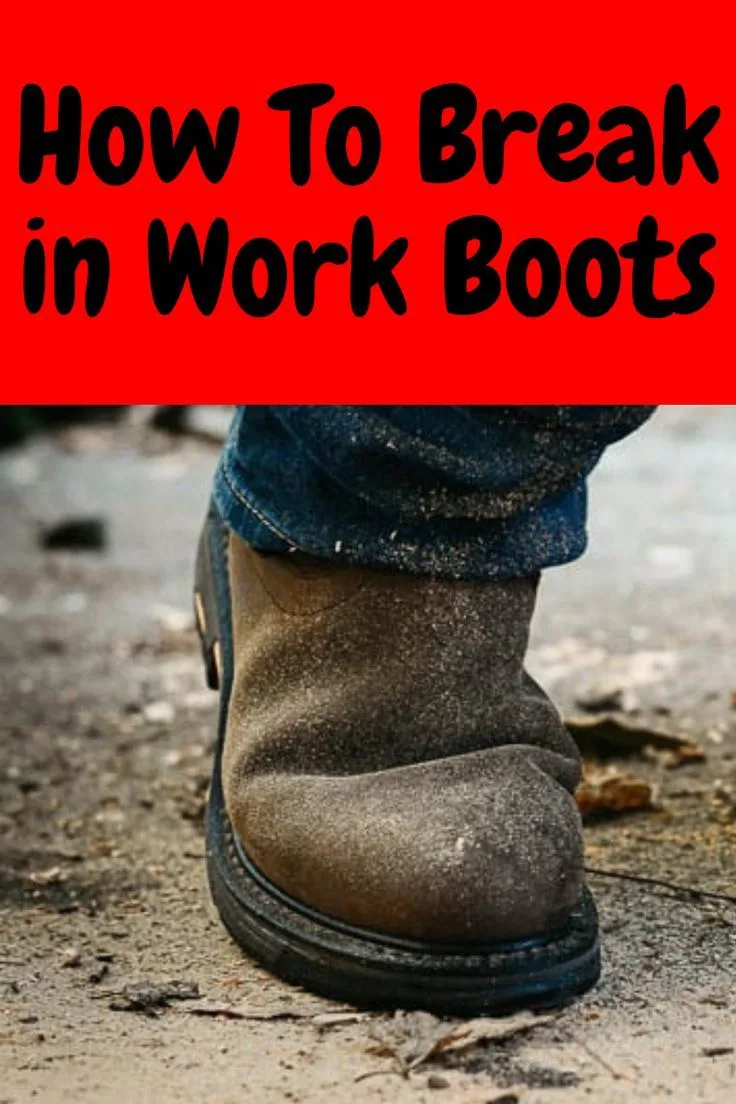
Image source: Bing (Web (fair-use with source credit))
Figuring out how to break in work shoes can turn a painful chore into a comfortable experience. Those stiff, brand-new boots or shoes might look great, but they often feel like they were designed to inflict maximum discomfort. We've all faced that initial stage where every step is a reminder they're not quite ready for the long haul.
Our research confirms that properly breaking in work shoes can significantly improve comfort and prevent common issues like blisters. For instance, manufacturer specifications for many durable leather work boots suggest a gradual wearing period of up to 40 hours before they reach optimal flexibility. This process helps the material mold to your unique foot shape, ensuring a secure and pleasant fit.
Quick Answer: Your Shoes Will Get There
Breaking in work shoes means gradually stretching and softening them to fit your feet. Start by wearing them around the house in short bursts with thick socks. For stubborn spots, you can gently apply medium heat with a hairdryer while flexing the shoe, then wear them again until comfortable.
Always bring a backup pair to work initially.
Image source: Bing (Web (fair-use with source credit))
What Kind of Work Shoes Are You Breaking In?
The material your work shoes are made from dictates the best approach for breaking them in. Some materials are naturally more forgiving and stretchier than others, meaning some methods will work faster or more effectively depending on your specific pair. Understanding these differences is key to avoiding damage and achieving maximum comfort.
Leather, Synthetics, and Suede: Material Matters
- Leather: This is probably the most common material for work shoes and boots, especially those needing durability and protection. Leather is known for its ability to stretch and mold to the wearer's foot over time. However, it can also be quite stiff initially and may require more effort to break in compared to other materials. There are various types of leather, such as full-grain, top-grain, and corrected-grain, each with slightly different break-in properties, but the general principles apply.
- Synthetic Materials: These can range from mesh-like fabrics to more rigid plastics. Synthetic work shoes, like some athletic-inspired safety shoes, might feel more comfortable right out of the box or require a shorter break-in period. However, they often don't stretch as much as leather, so if they're not a perfect fit initially, they might remain slightly uncomfortable. Manufacturer specifications often highlight breathability or water-resistance features for these materials.
- Suede and Nubuck: These are types of leather that have been buffed to create a soft, velvety texture. They are generally more pliable than smooth leather and can break in relatively quickly. However, they are also more susceptible to water damage and staining, so any break-in methods involving moisture or heat need to be approached with extra caution.
The Gentle Approach: Wear Them Around the House First
This is the most fundamental and safest way to begin the process of breaking in any new pair of work shoes. It allows your feet and the shoes to get acquainted without the pressure of a full workday. Think of it as an introduction rather than a deep dive.
- Start with short periods: Slip on your new shoes when you're home and have a few hours to spare. You don't need to wear them all day.
- Walk and move normally: Just do your regular household activities. This could be anything from making a cup of coffee to walking around the living room while on a phone call.
- Listen to your feet: Pay close attention to any areas that feel tight, pinch, or rub. If you feel discomfort, it's a signal to take them off and give your feet a break. Don't push through significant pain.
- Gradually increase time: As the shoes feel a bit more comfortable, try wearing them for longer stretches during subsequent home sessions. This gradual exposure helps the materials slowly adapt. This method is particularly effective as it allows you to immediately remove the shoes if a pressure point becomes unbearable, preventing blisters.
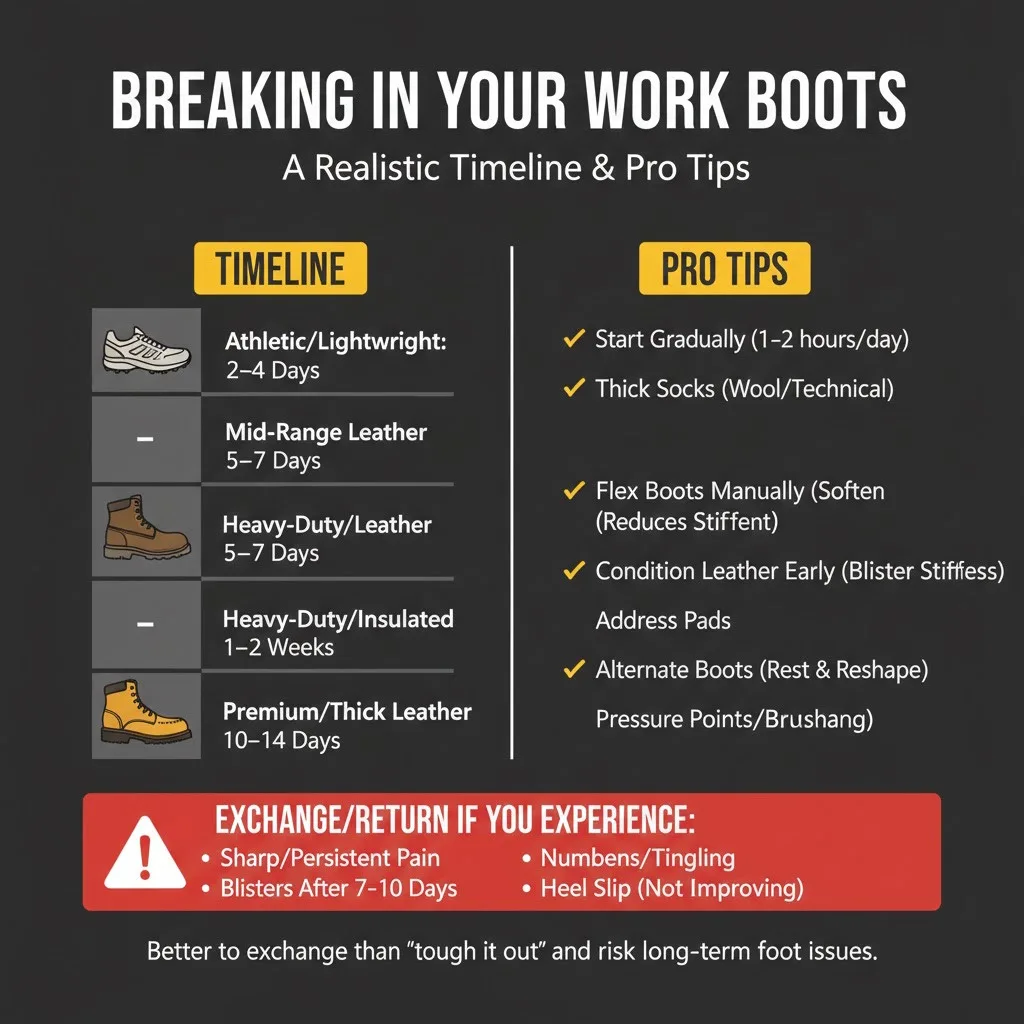
Image source: Bing (Web (fair-use with source credit))
Smart Stretches: Thick Socks and Gentle Heat
When your shoes feel a bit snug, or you want to speed up the molding process, a couple of simple tools can make a big difference. These methods help the shoe material expand and adapt more quickly to the shape of your foot.
How Thick Socks Stretch Your Shoes
Wearing thick socks is one of the easiest and most effective ways to gently stretch new shoes.
- Choose your socks wisely: Opt for your thickest pair of everyday socks, or even consider wearing two pairs of regular socks together. For really stubborn shoes, some people use specialized "boot socks" that are designed to be extra thick and cushioned.
- Wear them during your 'around the house' sessions: Put on the thick socks and then your work shoes. Walk around for an hour or two. The extra bulk of the socks fills the shoe more completely, applying consistent, gentle pressure that encourages the material to relax and widen. This is especially helpful for shoes that are just a touch too narrow or tight across the top.
Using a Hair Dryer Safely
For leather shoes that are particularly stiff, controlled heat can make the material more pliable and easier to shape. However, this method requires caution to avoid damaging the shoe.
- Protect your feet: Always wear thick socks (as described above) before applying heat. This provides a buffer and ensures the heat is working on the shoe material, not directly on your skin.
- Apply medium heat: Use a hairdryer on a medium heat setting. Hold it about 6 to 8 inches away from the shoe.
- Focus on the tight spots: Gently warm the specific areas of the shoe that feel tight or stiff for about 20 to 30 seconds. Keep the hairdryer moving to avoid concentrating heat in one place, which could scorch or warp the material.
- Flex and mold: While the shoe is still warm, flex your foot, bend your toes, and walk around for a few minutes. The warmth makes the leather more cooperative, allowing it to start conforming to your foot's contours.
- Allow to cool completely: Once you've finished warming and flexing, let the shoes air dry completely before taking them off. Repeat this process as needed over a few days. Be aware that synthetic materials or shoes with plastic components might be damaged by heat, so it's best to reserve this for leather.
Targeting Trouble Spots: When It's Just One Pinch
Sometimes, your work shoes don't feel uncomfortable all over; it's just one specific area that's causing irritation. This could be a seam that rubs, a particularly stiff section of the sole, or a tight spot on the side or top of your foot. Identifying and addressing these precise points can make a huge difference.
- Pinpoint the pressure: Wear the shoes for a short time and note exactly where you feel the discomfort. Is it the heel, the ball of your foot, the pinky toe side, or the top of your instep?
- Gentle manual manipulation: For leather shoes, you can often manually work the stiff areas. With the shoe off, try bending the sole back and forth, or gently push and pull on the leather around the tight spot. This can help to loosen the fibers in that specific area.
- Consider targeted stretchers: If you find that general wear and heat aren't solving a persistent pinch, a shoe stretcher can be a lifesaver. These devices are inserted into the shoe and can be adjusted to apply pressure to very specific parts of the shoe. You can get stretchers designed to widen the shoe, lengthen it, or even address specific pressure points like bunions or corns. They are a more advanced tool but incredibly effective for customized fitting.
Shoe Stretchers: A Targeted Solution
Shoe stretchers come in various forms, but the most common ones for targeted stretching are two-way stretchers.
- How they work: These typically have a mechanism that allows you to expand them in length and width simultaneously, or adjust each dimension independently. You insert the stretcher into the shoe and turn a handle to gradually expand it, applying pressure to the specific areas that need stretching.
- Best for stubborn spots: If a particular seam is rubbing your heel or a toe box feels too cramped, a stretcher allows you to apply focused pressure over several days to gently widen or lengthen that exact section of the shoe.
- Material considerations: While effective for leather, shoe stretchers should be used with caution on delicate materials like suede or certain synthetics. Always follow the stretcher's instructions and monitor the shoe for any signs of strain or damage.
The Real-World Test: Bringing Them to Work
Once your work shoes feel reasonably comfortable after wearing them around the house, it’s time to test them in their intended environment. This step is crucial because a workday often involves more prolonged standing, walking, and varied movements than you might do at home. It's the ultimate test to see if the breaking-in process has been successful.
- Choose your trial day wisely: If possible, pick a workday that isn't your most physically demanding. Perhaps a day with more desk time or shorter walking distances involved. This gives you a chance to assess comfort without immediate extreme stress on your feet.
- Pack your old faithfuls: This is arguably the most important piece of advice. Always bring a pair of your old, comfortable shoes with you on the day you're testing your new work shoes. This is your safety net. If the new shoes start to cause significant pain or blisters, you can swap them out and save your feet for the rest of the day.
- Listen to your body's signals: Even with good preparation, new shoes can sometimes become uncomfortable after several hours. If you start to feel pinching, rubbing, or hot spots, take a break. Walk a bit less if possible, or, if the discomfort is significant, switch to your backup shoes. The goal is to gradually increase wear time, not to endure pain.
Your Essential Backup Plan
Bringing backup shoes is not a sign of failure; it's a smart strategy. It allows you to continue your workday without being sidelined by foot pain. This practice helps prevent blisters and long-term foot issues that can arise from forcing yourself to wear ill-fitting or un-broken-in footwear.
It's about ensuring productivity and well-being.
Mistakes That Can Ruin Your New Shoes
Forcing a quick break-in can sometimes backfire, leading to damaged footwear or discomfort. One common error is using excessive heat. Manufacturer specifications for many leather goods caution against prolonged or direct high heat, as it can dry out the leather, making it brittle and prone to cracking.
Similarly, soaking shoes in water, a hack sometimes suggested online, can irreparably damage the adhesives, stitching, and shape of many work shoes. This approach can also lead to water stains that are impossible to remove.
Another mistake is skipping the gradual wear-in period. If your shoes are stiff and you immediately wear them for a full 10-hour shift, you're almost guaranteed to get blisters or hot spots. This sudden stress can also damage the shoe's internal structure.
Rushing the process by trying to aggressively stretch the shoes with force can also lead to tears or permanent deformation. It’s about coaxing them into shape, not forcing them.
How to Know When They're Ready
You'll know your work shoes are properly broken in when they feel like a natural extension of your feet. The stiffness that was present when they were new will have softened considerably, allowing the shoe to flex naturally with your stride. There should be no specific pressure points, pinching, or rubbing.
When you slip them on, they should feel snug and supportive without being constricting.
The overall comfort should be high, even after extended wear. This means you can wear them for your entire shift without needing to think about your feet or seeking relief. For most shoes, especially durable leather ones, this can take anywhere from 20 to 50 hours of cumulative wear.
It’s not just about hours logged, but also how your feet feel throughout that time. If you can easily wear them for a full workday without any discomfort, they've passed the test.
Frequently Asked Questions About Breaking In Work Shoes
How long does it typically take to break in new work shoes?
Our research indicates that most work shoes, particularly those made of leather, require between 20 to 50 hours of cumulative wear to fully break in. This period can vary based on the shoe's material, construction, and how frequently you wear them during the initial stages.
Can I speed up the breaking-in process?
Yes, you can gently speed it up by wearing thick socks and walking around the house in short, consistent sessions. For leather shoes, applying medium heat from a hairdryer to tight spots for brief periods while flexing can also help. However, avoid extreme methods like soaking.
What are the risks of not breaking in new work shoes properly?
Not breaking in new work shoes can lead to significant discomfort, blisters, and even foot pain or long-term issues. It can also potentially damage the shoes themselves if you try to force them to stretch too aggressively or use harsh methods.
Are there specific types of work shoes that are harder to break in?
Durable leather work boots or shoes with very rigid soles and stiff uppers tend to require more time and effort to break in compared to lighter synthetic or canvas shoes. The density and thickness of the material play a big role.
Should I wear my new work shoes every day until they break in?
It’s generally better to wear them in short, consistent intervals rather than all at once. Alternating with a comfortable, broken-in pair of shoes allows your feet to recover and prevents excessive friction or pressure that could cause blisters or foot strain.