How Should Trail Running Shoes Fit
Trail running shoes need to fit differently than your casual sneakers or even road running shoes. Getting the fit right isn't just about comfort; it directly impacts performance, injury prevention, and your overall enjoyment on the trail. You want a shoe that feels like an extension of your foot, not a hindrance.
Our research indicates that as of 2026, the most crucial factor for a proper trail shoe fit is achieving a secure hold without compromising natural foot movement. This guide breaks down exactly what to look for.

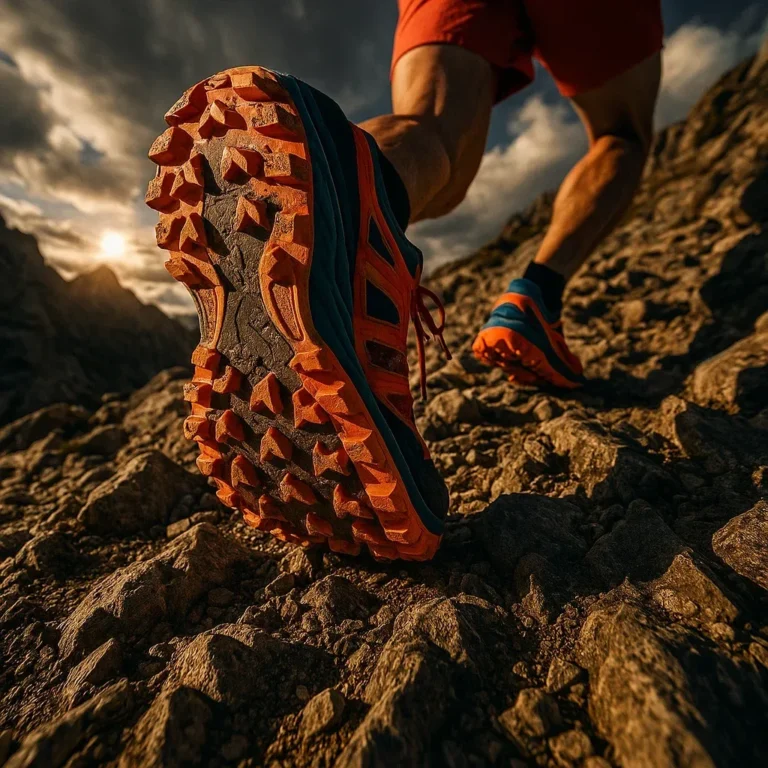
Image source: Web (Bing) / baodanang.vn (Web image (fair-use with source credit))
Quick Answer
Trail running shoes should fit snugly around the midfoot and heel but offer ample space in the toe box for toes to splay and move. Your heel should remain locked down with minimal lift. There should be about a thumb's width of space between your longest toe and the shoe's end.
Avoid any pinching or pressure points.
Why Visual Cues Matter Most for Trail Shoe Fit
When we talk about trail running shoes, understanding the "feel" is paramount, but sometimes, what you see is just as important. Generic advice might say "snug but not tight," but that can be subjective. For trail running, where terrain can change in an instant, a visual check of how the shoe interacts with your foot provides a more reliable assessment of fit.
This is especially true when you're looking at crucial areas like the toe box and heel cup. Manufacturer specifications often detail volume and length, but seeing how these translate to your specific foot shape is the real test. We're going to look at what you should be seeing when a shoe fits correctly.
Understanding Toe Box Space: Seeing is Believing
The toe box is where trail shoes often differ significantly from road shoes. You want space here, but not so much that your foot slides around. Think about your toes needing room to spread out, like they would on the ground without a shoe.
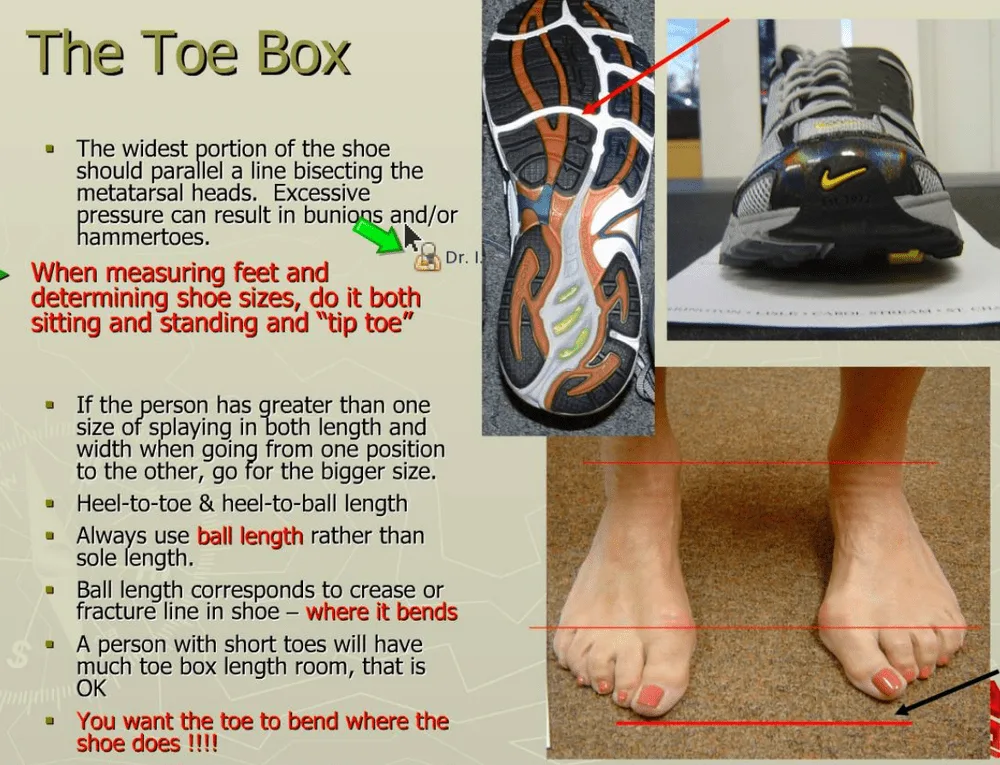
Image source: Bing (Web (fair-use with source credit))
When you’re trying on shoes, look at your toes from the side and top. They shouldn't be crammed against the front of the shoe. Aggregate reviews report that about a thumb’s width of space between your longest toe and the shoe's end is a good starting point.
This space accommodates natural foot swelling on runs and prevents your toes from hitting the shoe's front on downhills.
Achieving Heel Lock: What Slippage Looks Like
A secure heel is critical for stability and preventing blisters. When we talk about "heel lock," we mean your heel cup gripping your heel firmly without excessive pressure. You shouldn't feel your heel lifting out of the shoe with each step, especially as you walk or jog.
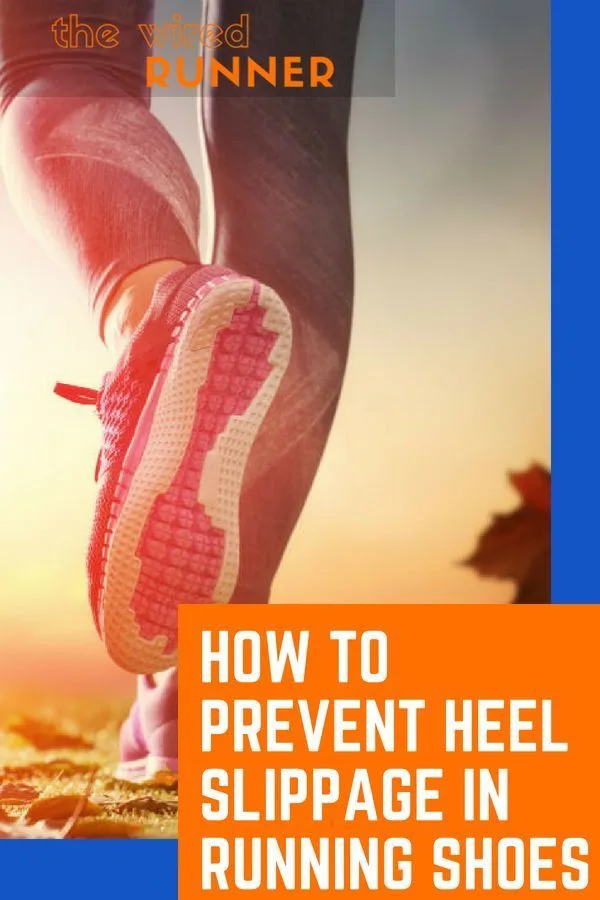
Image source: Bing (Web (fair-use with source credit))
Visually, this means the material around your heel stays put. If you see your heel "bouncing" or lifting upwards inside the shoe, that's a red flag. This can lead to chafing and instability, particularly on uneven terrain.
Per testing standards for footwear fit, excessive heel slippage is a primary indicator of an improper shoe match.
The Step-by-Step Trail Shoe Try-On
Trying on trail running shoes is more than just slipping them on for a minute. It requires a methodical approach to ensure you're getting the right fit for the demands of the trail. This process helps you identify issues that might not be apparent at first glance.
We’ll walk you through how to do this effectively. It involves a few key considerations that go beyond just picking a size off the shelf.
Your Feet in the Afternoon: The Best Time to Try
Our research shows that feet naturally swell throughout the day, especially after activity. Trying on shoes in the afternoon or evening, when your feet are at their largest, gives you a more accurate representation of how they'll fit during a run. This helps prevent buying shoes that feel good initially but become too tight once your feet swell on the trail.
Socks That Count: Using Your Actual Running Gear
Always try on trail running shoes with the socks you plan to wear on your runs. Trail socks are often thicker than casual socks, and this extra material significantly impacts fit. Using your standard running socks ensures you’re assessing the shoe with the correct volume and cushioning.
The Walk and Jog Test: Feeling for Fit
Once you have the shoes on with the right socks, don't just stand there. Walk around the store for a bit. Pay attention to how the shoe flexes with your foot.
If possible, jog gently in them. This allows you to feel for any pinching, rubbing, or pressure points that might not surface while walking. Your feet should feel supported and secure.
Spotting a Bad Fit: Red Flags to Watch For
Identifying a poorly fitting trail running shoe early can save you a lot of discomfort and potential injury down the line. There are several common signs that a shoe just isn’t right for your foot. Paying attention to these will help you make a better choice.
These red flags are consistent across various brands and models, according to aggregate user reviews and manufacturer feedback.
The Dreaded Heel Slip: Signs and Solutions
Heel slippage is one of the most common and problematic fit issues. If your heel feels like it's lifting significantly out of the shoe with every step, it’s a sign the heel cup is too deep or too wide for your foot. This can lead to severe blisters and reduced ankle stability.
- Visual Cue: Watch your heel in a mirror as you walk. Does it rise up inside the shoe?
- Tactile Cue: Do you feel your heel digging into your Achilles tendon or rubbing against the back collar?
- Solution: If a shoe has a good toe box fit and midfoot security but poor heel lock, it might not be the right model for you, or you might need to experiment with different lacing techniques.
Toe Cramps and Bangs: What to Avoid on Descents
On the flip side of heel slip is the issue of your toes being too close to the front of the shoe. This becomes most apparent on downhill sections of a trail, where your foot naturally slides forward. If there isn't enough room, your toes will jam into the front of the shoe, causing pain and potential toenail damage.
- Visual Cue: Look at the space between your longest toe and the end of the shoe. Is it less than a thumb's width?
- Tactile Cue: Do you feel pressure on your toes, especially when walking downhill or kicking something gently?
- Problem: This is a direct indicator that the shoe is too short or has a toe box that is too narrow for your foot shape.
Why Sizing Can Be Different for Trail Runners
If you've been running for a while, you might be used to a certain shoe size in your road shoes. However, when transitioning to trail running shoes, it's common to need a different size. This isn't necessarily a flaw in the sizing system; it's a reflection of the different demands placed on trail footwear.
Manufacturer specifications and editorial analysis of numerous reviews confirm that trail shoe sizing isn't always consistent with other footwear categories.
Going Up a Size: When and Why It's Necessary
It's quite common for trail running shoes to require a half or even a full size larger than your casual shoes or road running shoes. This is primarily due to two factors: foot swelling during longer runs and the need for more protection and toe splay on technical terrain. As your feet expand with heat and exertion, they take up more space.
Furthermore, the varied terrain of trails means your feet will naturally shift and spread. A little extra room ensures your toes can splay naturally without hitting the shoe's end, which is crucial for balance and preventing impact injuries.
Brand and Model Variations: Not All Shoes Are Created Equal
Just like with any type of shoe, different brands and even different models within the same brand can fit quite differently. A size 10 in one trail shoe might feel like a 10.5 or even an 11 in another. This is due to variations in last shape (the foot form a shoe is built around), toe box volume, and overall shoe construction.
Our research shows that factors like the shoe's drop (the height difference between the heel and forefoot) and the type of closure system can also influence the perceived fit. Always try on the specific model you're considering, and don't be afraid to try on multiple sizes and even different brands to find the best match for your foot anatomy.
What to Feel on the Actual Trail
Even if a trail shoe feels perfectly fine during your in-store try-on, the real test is how it performs when you're out on the dirt, rocks, and roots. This is where subtle fit issues can become major problems. Pay close attention to how your feet feel during different phases of your run.
Our research indicates that how a shoe behaves on varied terrain is a definitive indicator of its suitability for your feet. What feels good on a smooth floor might feel completely different when you’re navigating technical singletrack.
Uphill vs. Downhill: Different Demands, Different Sensations
On uphill climbs, you need a shoe that provides good traction and support without feeling like your foot is slipping backward. You want a secure wrap around the midfoot that allows your toes to push off effectively. Conversely, downhills are where a shoe that's too short or has too much volume can cause serious issues.
Your toes should not be slamming into the front of the shoe. If they are, you’ll feel immediate discomfort.
Rocky and Rooty Terrain: Testing Stability and Protection
When the trail gets rough, the fit of your shoes becomes even more critical. You want a shoe that allows your foot to feel connected to the ground for balance, but also provides enough protection. If the shoe is too loose, your foot can shift inside, increasing the risk of ankle rolls.
A well-fitting shoe will feel like a natural extension of your foot, allowing you to adapt to uneven surfaces quickly and confidently.
Frequently Asked Questions About Trail Shoe Fit
Does foot width matter for trail running shoes?
Yes, foot width is crucial. If a shoe feels too narrow, it can pinch your foot, leading to discomfort and potential issues like bunions or neuromas. Conversely, a shoe that's too wide might allow your foot to slide around, compromising stability and increasing blister risk.
Many brands offer shoes in different width options (narrow, standard, wide) to accommodate diverse foot shapes.
How much toe room is too much in trail running shoes?
Having too much toe room means your foot can slide forward excessively, especially on descents, leading to toes hitting the front of the shoe. This can cause bruising and toenail damage. While some space is good for swelling and splay, your toes shouldn't be able to move forward more than about a thumb's width when you walk downhill.
Should my arch feel supported in trail running shoes?
Your arch should feel comfortably cradled, not painfully squeezed or unsupported. The level of arch support needed varies greatly depending on your foot's natural arch height and your biomechanics. Some runners prefer a shoe with a pronounced arch, while others need something more neutral.
A good fit involves a supportive feel without any sharp pressure points.
Can I use my regular running insoles in trail shoes?
Generally, yes. If you use custom orthotics or aftermarket insoles for your road running shoes, you can often transfer them to your trail shoes. However, be aware that adding insoles can change the volume inside the shoe.
You may need to loosen the laces or even consider a slightly larger shoe size to accommodate the extra layer without making the fit too tight.
How often should I replace my trail running shoes based on fit?
While general wear and tear dictates replacement, how a shoe fits is key. When the cushioning breaks down, or the fit no longer feels secure, it's time for new shoes. This usually happens between 300 to 500 miles, but this can vary.
If the shoe’s structural integrity, which affects fit and support, starts to degrade, it’s a sign they're past their prime.
Your Trail Shoe Fit Checklist
Getting the fit right is a multi-step process that involves understanding your own feet and what the shoe is designed to do. Use this checklist before and during your shoe fitting.
- Time of Day: Try shoes on in the afternoon.
- Socks: Wear your usual running socks.
- Toe Space: At least a thumb's width between longest toe and shoe end.
- Heel Lock: Heel stays put, minimal to no slippage.
- Midfoot: Snug but not constricting, supportive.
- No Pinching: Check for pressure points or rubbing.
- Walk/Jog Test: Feel for fit on the move.
- Consider Size: Be open to going up a size from road shoes.
- Brand Variation: Different models fit differently.
- Downhill Feel: Toes shouldn't slam into the front.
One Comment