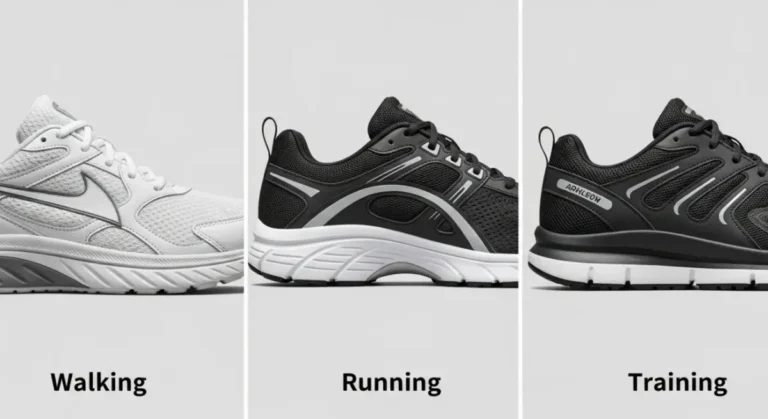
How to Remove Stains From Shoes
When life happens and your favorite shoes get stained, it's easy to feel like they're ruined. But before you stash them away or head to the store for a new pair, know that most shoe stains are treatable with the right approach. Knowing how to remove stains from shoes can save your footwear and your wallet.
Our research shows that the effectiveness of any cleaning method hinges on two critical factors: the type of stain and the material of your shoe. For instance, manufacturer specifications often detail cleaning protocols based on the materials used, advising gentle methods for delicate fabrics and tougher solutions for durable soles. Let's break down how to tackle those common mishaps.
Quick Answer
To remove stains from shoes, first identify the stain type and shoe material. Use a gentle cleaning agent like mild soap and water for general dirt on canvas or leather, but specialized removers may be needed for ink or oil. Always spot-test first.
For suede, use an eraser and brush.
Identifying the Stain and Your Shoe Material
Before you grab the first cleaning spray you see, pause for a moment. Getting this right is the most crucial step, and it dramatically changes how you'll proceed. Think of it like a doctor needing to diagnose before prescribing medicine; the wrong treatment can actually make things worse.
What Kind of Stain Are You Dealing With?
Stains are not all created equal. Grass stains on a park bench are different from oil splatters in the garage, and the solution for one won't work for the other. Identifying the culprit helps you pick the right weapon for the job.
- Mud and Dirt: Usually the easiest. Often just requires water and a gentle brush.
- Grass Stains: These contain chlorophyll and proteins, which can set in. Requires specific enzyme-based cleaners or vinegar.
- Oil and Grease: These are hydrophobic, meaning water won't lift them. You'll need an absorbent like baking soda or cornstarch, followed by a degreasing agent.
- Ink and Dye: Can be tricky. Rubbing alcohol or specialized ink removers might be necessary, but always test on an inconspicuous spot first.
- Wine and Juice: Contain tannins and pigments. Prompt action with cold water and a mild detergent is key.
- Salt Stains: Common in winter from road salt. Usually a mix of water and vinegar can break down the crystalline structure.
- Scuff Marks: Often superficial and can sometimes be buffed out or removed with a simple eraser.
What Are Your Shoes Made Of?
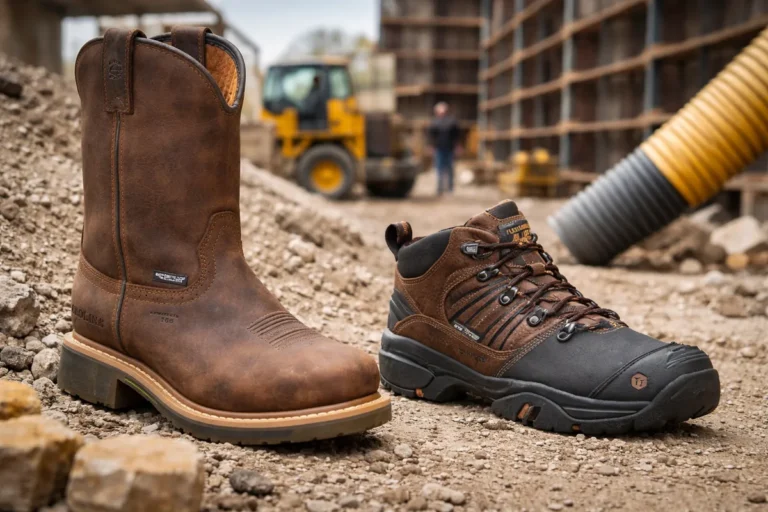
This is just as important as the stain itself. A harsh cleaner that works wonders on a rubber sole could completely destroy a delicate suede upper. Our research indicates that material composition dictates the cleaning agent and technique.
- Leather: A durable material, but can dry out and crack if over-cleaned or exposed to harsh chemicals. Needs conditioning after cleaning.
- Suede and Nubuck: These have a napped surface. Water can flatten and stain them, and harsh scrubbing can damage the texture. Requires specialized brushes and erasers.
- Canvas and Mesh: Often found on athletic shoes. Generally more resilient and can handle water and mild detergents, sometimes even machine washing.
- Synthetic Materials (e.g., PU, synthetic leather): Often easier to clean than natural leather but can still be damaged by strong solvents.
- Rubber (soles, boots): Usually the most robust part of a shoe. Can often withstand tougher cleaners, but prolonged exposure to certain chemicals can cause yellowing or degradation.

Image source: Bing (Web (fair-use with source credit))
The Quick & Dirty: Your First Steps for Fresh Stains
When a stain happens, don't panic. Acting fast can make a world of difference. For many fresh stains, a few simple steps can prevent them from becoming permanent.
This is your immediate action plan before you get into more detailed cleaning.
- Blot, Don't Rub: For liquid spills, grab a clean, dry cloth or paper towel and gently blot the area. Rubbing can spread the stain and push it deeper into the material.
- Remove Solids: If it's a solid mess like mud, let it dry completely. Then, gently brush off as much as you can with a soft brush or even your fingers.
- Cold Water First: For many water-soluble stains, a quick rinse with cold water can lift a surprising amount of the mess. Avoid hot water, as it can sometimes set protein-based stains like blood or egg.
- Identify and Gather: As soon as possible, try to pinpoint what caused the stain and what your shoe is made of. Gather your supplies from the list we'll cover later.
If the stain is fresh and the material is forgiving (like canvas or some leathers), these initial steps might be all you need. For tougher stains or more delicate materials, however, you'll need to move on to more specific treatments.
The Stain Removal Decision Tree: Matching Method to Material
This is where we get specific. Since shoe materials vary so much, the cleaning approach must be tailored. Think of this as a branching path: depending on your shoe's material, you'll follow a different set of instructions.
This decision tree helps ensure you use the right method and avoid damaging your footwear.
For Leather Shoes: Gentle Cleaning and Conditioning
Leather is a fantastic material, but it requires a bit of finesse. Harsh cleaners can strip its natural oils, leading to dryness, cracking, and eventual damage. The goal is to clean without compromising the leather's integrity.
- Pre-Clean: Start by wiping away any loose dirt or dust with a dry, soft cloth or a horsehair brush.
- Spot Test: Mix a tiny amount of mild soap (like a pH-neutral leather soap or a drop of gentle dish soap) with distilled water. Apply a small dab to an inconspicuous area, like the inside of the tongue or a small spot on the heel, and let it dry. Check for any discoloration or damage.
- Gentle Cleaning: If the spot test is good, dampen a clean microfiber cloth with your mild soap solution. Gently wipe the stained area in a circular motion. Avoid saturating the leather.
- Rinse and Dry: Use a separate, clean, damp cloth (just with water) to wipe away any soap residue. Then, pat the area dry with a clean, dry towel. Allow the shoes to air dry completely, away from direct heat or sunlight, which can cause leather to crack.
- Condition: Once completely dry, apply a good quality leather conditioner using a clean cloth. This replenishes the oils lost during cleaning and keeps the leather supple.
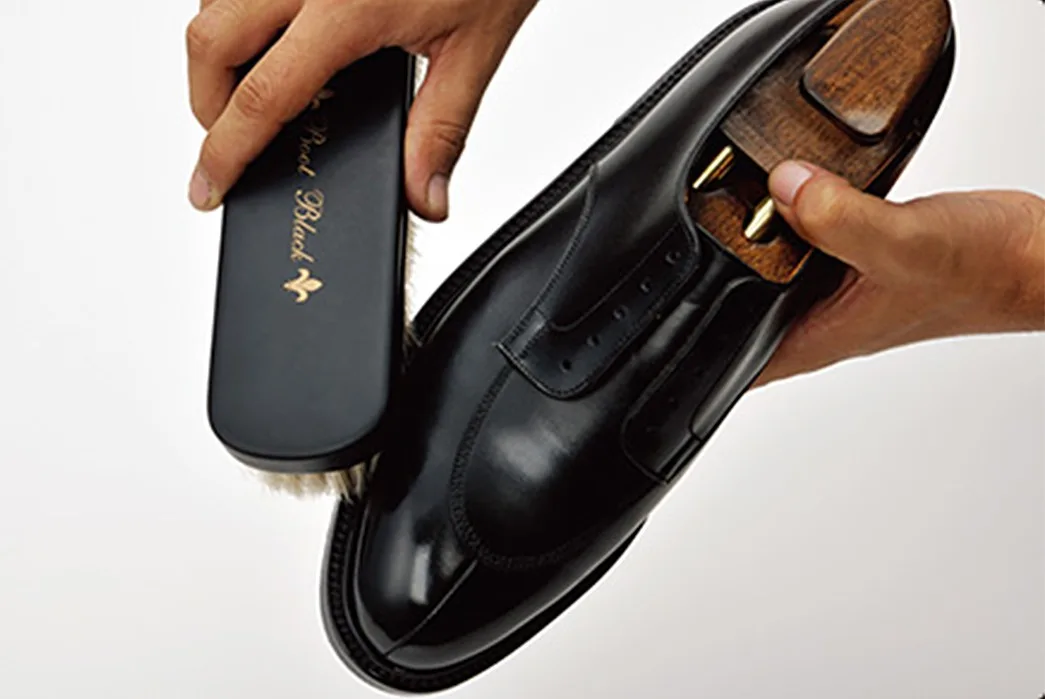
Image source: Bing (Web (fair-use with source credit))
Common Pitfalls: Using household cleaners not designed for leather, excessive water, or machine washing leather shoes.
For Suede & Nubuck: Brushing, Erasers, and Special Care
Suede and nubuck are beautiful but notoriously delicate. Their soft, napped surface can easily get matted down, stained, or permanently marked. Water is often the enemy here, as it can flatten the nap and leave water spots.
- Dry Brush First: Always start with a dry suede brush or a clean toothbrush. Brush the stained area gently to lift away loose dirt and debris and to try and restore the nap. Brush in one direction to avoid further matting.
- Suede Eraser: For more persistent marks or scuffs, a suede eraser (or even a clean pencil eraser in a pinch) can work wonders. Gently rub the eraser over the stain. Afterward, brush the area again to lift the nap.
- Tackling Stubborn Stains: For tougher stains like grease or ink, specialized suede cleaners are often the best bet. Follow the product instructions precisely, and always spot-test first in an unseen area. Some methods involve using a small amount of white vinegar or rubbing alcohol on a cloth, but this requires extreme caution.
- Water Spots: If you get a water spot, try dampening the entire panel of suede with a fine mist of water and then brushing it vigorously once dry to blend the color and texture.
- Protection: After cleaning and once fully dry, consider applying a suede protector spray. This creates a barrier against future stains and water damage.
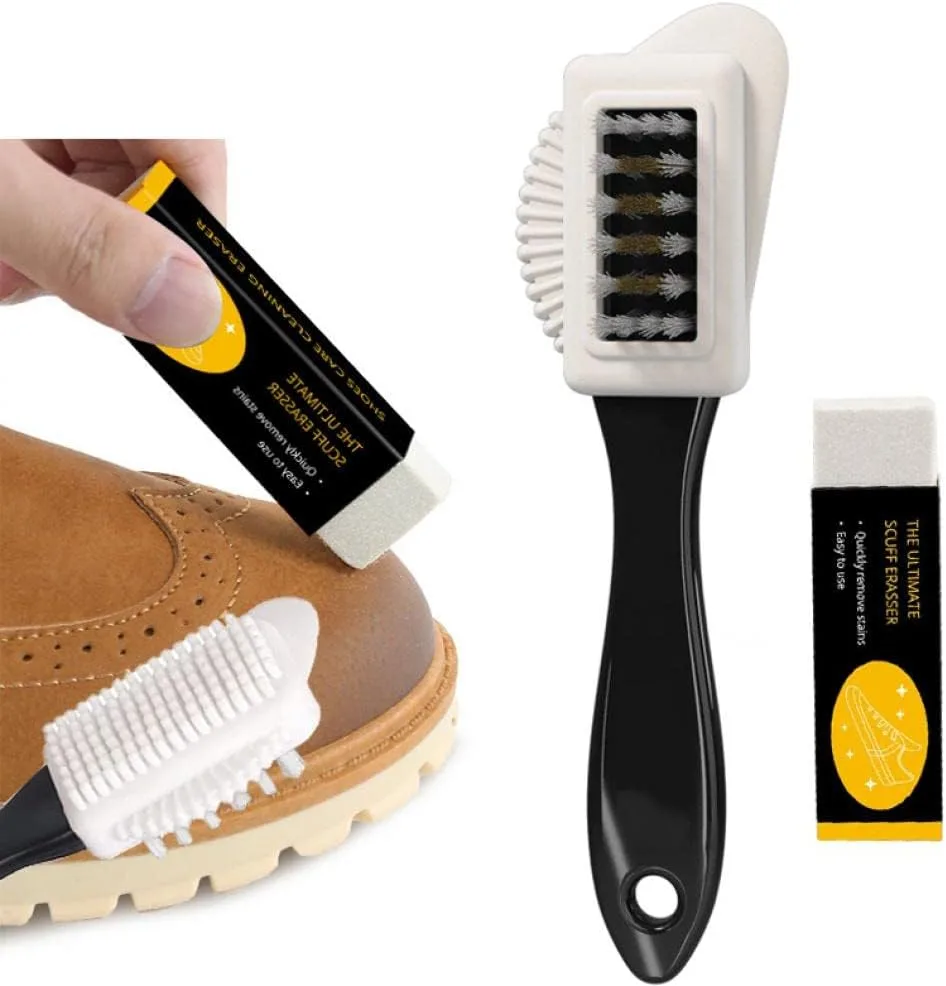
Image source: Bing (Web (fair-use with source credit))
Key Takeaway: Patience and a light touch are paramount. Avoid soaking suede or nubuck with water or aggressive cleaners.
For Canvas and Mesh: Washing Machine and Targeted Treatments
Canvas and mesh shoes, common in athletic footwear and casual sneakers, are generally more forgiving. They can often withstand a bit more wear and tear, and sometimes, a good wash is the best solution. However, it's still wise to be mindful of specific stain types.
- Pre-Treat Stains: Before tossing them in the wash, pre-treat any visible stains. For common dirt and grass, a dab of laundry detergent or a stain remover applied directly to the spot can help. Let it sit for 15-30 minutes.
- Machine Wash (Carefully): Place the shoes in a mesh laundry bag or an old pillowcase to protect them and your washing machine drum. Use a gentle cycle with cold water and a standard laundry detergent. Avoid using bleach unless the shoes are pure white and the stain is very stubborn, as bleach can yellow or weaken colored fabrics.
- Hand Washing Option: If you prefer hand washing or have particularly delicate mesh, use a basin with cool water and a small amount of mild detergent. Use a soft brush or an old toothbrush to gently scrub the stained areas.
- Rinse Thoroughly: Ensure all detergent is rinsed out. Leftover soap can attract dirt and cause yellowing.
- Air Dry: This is critical. NEVER put canvas or mesh shoes in the dryer. High heat can warp the shape, melt adhesives, and damage synthetic materials. Stuff them with clean, dry towels or paper towels to help absorb moisture and maintain their shape, and let them air dry completely at room temperature.
Important Note: Check the manufacturer's care label if available. Some athletic shoes may have specific cleaning instructions. This method is great for general grime, but set-in ink or oil might require pre-treatment with specialized agents.
For Synthetic and Rubber: Tougher Stains, Gentler Approach
Synthetic materials, often found in modern sneakers and footwear, and rubber soles are usually quite resilient. They can typically handle a wider range of cleaning agents than natural materials. However, it’s still smart to avoid unnecessarily harsh chemicals that could cause yellowing or degradation over time.
- Basic Wipe-Down: For everyday dirt and scuffs on synthetics, a damp cloth with a little mild soap or detergent is usually enough. Wipe the affected area clean.
- Tackling Tougher Stains: For more stubborn stains like oil, grease, or ink on synthetic uppers, try a small amount of rubbing alcohol on a cotton ball or cloth. Gently dab the stain, working from the outside in to prevent spreading. For rubber soles, a magic eraser, baking soda paste, or even toothpaste can be effective at lifting scuffs and grime.
- Rinsing: Always rinse the area with a clean, damp cloth to remove any cleaning solution residue.
- Drying: Allow the shoes to air dry completely at room temperature. Avoid direct heat. For rubber soles, ensuring they are completely dry can prevent them from picking up dirt quickly.
Manufacturer Specifications: According to general manufacturer guidelines, most synthetic shoe components can be cleaned with a mild detergent and cool water. However, aggressive solvents or abrasive cleaners should be avoided to preserve the material's finish and structural integrity. This approach works well for sports shoes, fashion sneakers, and water-resistant footwear.
Common Stain Removal Mistakes to Sidestep
Even with the best intentions, it's easy to make missteps when trying to clean your shoes. Some common errors can lead to making a stain worse, damaging the material, or even ruining the shoe entirely. Being aware of these pitfalls can save you a lot of frustration and potential expense.
- Using the Wrong Cleaner for the Material: This is probably the most frequent mistake. A strong degreaser that works on a rubber sole can strip the life out of leather or mat down suede. Always confirm your shoe's material and select a cleaner appropriate for it.
- Rubbing Too Vigorously: While it might seem like scrubbing harder will get the stain out, it often just spreads the stain or damages the material fibers, especially on delicate fabrics like suede or mesh. Gentle blotting and targeted application are usually more effective.
- Soaking the Shoes: Unless the shoe is designed to be submerged (like some rubber boots), avoid soaking. Excessive water can weaken adhesives, cause leather to warp, and flatten the nap on suede and nubuck, leading to permanent marks.
- Using Heat to Dry: Putting shoes in a clothes dryer, near a radiator, or under direct sunlight can cause materials to shrink, crack, or warp. Natural air drying is almost always the safest and most effective method.
- Skipping the Spot Test: Before applying any cleaner to a visible part of your shoe, always test it on a small, inconspicuous area. This helps you catch any adverse reactions like discoloration or material damage before it's too late.
- Not Addressing Stains Promptly: The longer a stain sits, the harder it is to remove. Fresh stains are significantly easier to tackle than ones that have had time to set deep into the fibers.
Expert Tips for Tackling Stubborn Scuffs and Marks
Sometimes, you've got a stain that just won't budge with standard methods. This is where a few extra tips and tricks can come in handy. Our research has gathered insights that go beyond the basics to help you win the battle against those persistent marks.
- For White Rubber Soles: A magic eraser (melamine foam) is surprisingly effective for scuffs and ingrained dirt on white rubber. For tougher yellowing, a paste of baking soda and water left on for a few hours, or even a specialized sole whitener, might be needed. You can also try a non-gel white toothpaste with a toothbrush.
- Ink Stains on Leather: For fresh ink on smooth leather, try dabbing it gently with a cotton swab dipped in rubbing alcohol. Work from the outside of the stain inward. Follow up immediately with a leather conditioner. If it's an old or deep ink stain, you might need a professional.
- Oil on Suede: Act fast! Immediately sprinkle a generous amount of cornstarch or baking soda over the oily spot. Let it sit for several hours, or overnight, to absorb as much oil as possible. Then, brush it off with a suede brush. You might need to repeat this process.
- Salt Stains on Leather/Suede: Mix equal parts white vinegar and water. Dampen a cloth (don't soak it) and gently wipe away the salt lines. Follow up by wiping with a clean, damp cloth and then conditioning the leather or brushing the suede once dry.
- The Power of Patience: For very old or deep stains, sometimes the best approach is to clean gently and repeatedly over several days, rather than trying to force it all out in one go. This preserves the shoe's material.
Maintaining Your Clean Kicks: Keeping Stains Away
Once you've successfully removed a stain, the goal is to keep your shoes looking good for as long as possible. Prevention is always better than cure, and a little regular maintenance goes a long way in stopping new stains before they start.
- Protective Sprays: For suede, nubuck, and even some smooth leathers and fabrics, applying a waterproofing and stain-repellent spray can create a barrier against liquids and dirt. Reapply periodically, usually every few months or after deep cleaning.
- Regular Brushing: For shoes you wear often, a quick brush after each wear can remove surface dust and dirt before it has a chance to embed itself. This is especially true for suede and nubuck.
- Proper Storage: Store your shoes in a cool, dry place, away from direct sunlight. Using shoe trees can help maintain their shape and absorb any residual moisture. For suede and nubuck, storing them in cloth bags can prevent dust and scuffing.
- Address Spills Immediately: We can't stress this enough, the faster you act on a spill, the better your chances of a complete removal. Keep a small cleaning kit (like a travel-size stain remover and a microfiber cloth) handy if you're prone to accidents.
- Clean Laces Separately: Laces can harbor a lot of dirt. Remove them and wash them separately in a mesh bag with your laundry. They often come out looking much brighter.
Frequently Asked Questions About Shoe Stain Removal
How long does it usually take to remove a shoe stain?
The time can vary greatly. Fresh, simple stains on durable materials might be removed in under 30 minutes. Stubborn or old stains, especially on delicate materials like suede, could take multiple cleaning sessions over several days, including drying time between each.
Can I use household bleach to remove stains from my shoes?
Generally, no. Bleach is a harsh chemical that can discolor or weaken many shoe materials, especially colored fabrics, leather, and synthetics. It’s best reserved for completely white canvas or rubber parts, and even then, it should be used cautiously and diluted.
What's the best way to remove salt stains from winter boots?
For most winter boots (unless they are highly delicate suede), a mixture of equal parts white vinegar and water is very effective. Dampen a cloth with the solution and gently wipe away the salt crystals. Follow up with a clean, damp cloth and allow the boots to air dry.
If they are leather, condition them afterward.
Will machine washing ruin my athletic shoes?
Machine washing can be a good option for many canvas and mesh athletic shoes, but it's not without risks. Always use a gentle cycle with cold water, place shoes in a protective bag, and air dry them afterward. Avoid putting them in the dryer, as heat is the main culprit for damage.
Check the manufacturer's care label first.
How can I prevent my white shoes from getting stained in the first place?
Applying a fabric or leather protector spray specifically designed for footwear is your best defense. For white rubber soles, consider using a sole protector or cleaning them regularly with a magic eraser. Promptly wiping away any dirt or spills as soon as you notice them will also help.
The Stain Removal Decision Tree: Matching Method to Material
This is where we get specific. Since shoe materials vary so much, the cleaning approach must be tailored. Think of this as a branching path: depending on your shoe's material, you'll follow a different set of instructions.
This decision tree helps ensure you use the right method and avoid damaging your footwear.
For Leather Shoes: Gentle Cleaning and Conditioning
Leather is a fantastic material, but it requires a bit of finesse. Harsh cleaners can strip its natural oils, leading to dryness, cracking, and eventual damage. The goal is to clean without compromising the leather's integrity.
- Pre-Clean: Start by wiping away any loose dirt or dust with a dry, soft cloth or a horsehair brush.
- Spot Test: Mix a tiny amount of mild soap (like a pH-neutral leather soap or a drop of gentle dish soap) with distilled water. Apply a small dab to an inconspicuous area, like the inside of the tongue or a small spot on the heel, and let it dry. Check for any discoloration or damage.
- Gentle Cleaning: If the spot test is good, dampen a clean microfiber cloth with your mild soap solution. Gently wipe the stained area in a circular motion. Avoid saturating the leather.
- Rinse and Dry: Use a separate, clean, damp cloth (just with water) to wipe away any soap residue. Then, pat the area dry with a clean, dry towel. Allow the shoes to air dry completely, away from direct heat or sunlight, which can cause leather to crack.
- Condition: Once completely dry, apply a good quality leather conditioner using a clean cloth. This replenishes the oils lost during cleaning and keeps the leather supple.
Image source: Bing (Web (fair-use with source credit))
Common Pitfalls: Using household cleaners not designed for leather, excessive water, or machine washing leather shoes.
For Suede and Nubuck: Brushing, Erasers, and Special Care
Suede and nubuck are beautiful but notoriously delicate. Their soft, napped surface can easily get matted down, stained, or permanently marked. Water is often the enemy here, as it can flatten the nap and leave water spots.
- Dry Brush First: Always start with a dry suede brush or a clean toothbrush. Brush the stained area gently to lift away loose dirt and debris and to try and restore the nap. Brush in one direction to avoid further matting.
- Suede Eraser: For more persistent marks or scuffs, a suede eraser (or even a clean pencil eraser in a pinch) can work wonders. Gently rub the eraser over the stain. Afterward, brush the area again to lift the nap.
- Tackling Stubborn Stains: For tougher stains like grease or ink, specialized suede cleaners are often the best bet. Follow the product instructions precisely, and always spot-test first in an unseen area. Some methods involve using a small amount of white vinegar or rubbing alcohol on a cloth, but this requires extreme caution.
- Water Spots: If you get a water spot, try dampening the entire panel of suede with a fine mist of water and then brushing it vigorously once dry to blend the color and texture.
- Protection: After cleaning and once fully dry, consider applying a suede protector spray. This creates a barrier against future stains and water damage.
Image source: Bing (Web (fair-use with source credit))
Key Takeaway: Patience and a light touch are paramount. Avoid soaking suede or nubuck with water or aggressive cleaners.
For Canvas and Mesh: Washing Machine and Targeted Treatments
Canvas and mesh shoes, common in athletic footwear and casual sneakers, are generally more forgiving. They can often withstand a bit more wear and tear, and sometimes, a good wash is the best solution. However, it's still wise to be mindful of specific stain types.
- Pre-Treat Stains: Before tossing them in the wash, pre-treat any visible stains. For common dirt and grass, a dab of laundry detergent or a stain remover applied directly to the spot can help. Let it sit for 15-30 minutes.
- Machine Wash (Carefully): Place the shoes in a mesh laundry bag or an old pillowcase to protect them and your washing machine drum. Use a gentle cycle with cold water and a standard laundry detergent. Avoid using bleach unless the shoes are pure white and the stain is very stubborn, as bleach can yellow or weaken colored fabrics.
- Hand Washing Option: If you prefer hand washing or have particularly delicate mesh, use a basin with cool water and a small amount of mild detergent. Use a soft brush or an old toothbrush to gently scrub the stained areas.
- Rinse Thoroughly: Ensure all detergent is rinsed out. Leftover soap can attract dirt and cause yellowing.
- Air Dry: This is critical. NEVER put canvas or mesh shoes in the dryer. High heat can warp the shape, melt adhesives, and damage synthetic materials. Stuff them with clean, dry towels or paper towels to help absorb moisture and maintain their shape, and let them air dry completely at room temperature.
Important Note: Check the manufacturer's care label if available. Some athletic shoes may have specific cleaning instructions. This method is great for general grime, but set-in ink or oil might require pre-treatment with specialized agents.
For Synthetic and Rubber: Tougher Stains, Gentler Approach
Synthetic materials, often found in modern sneakers and footwear, and rubber soles are usually quite resilient. They can typically handle a wider range of cleaning agents than natural materials. However, it’s still smart to avoid unnecessarily harsh chemicals that could cause yellowing or degradation over time.
- Basic Wipe-Down: For everyday dirt and scuffs on synthetics, a damp cloth with a little mild soap or detergent is usually enough. Wipe the affected area clean.
- Tackling Tougher Stains: For more stubborn stains like oil, grease, or ink on synthetic uppers, try a small amount of rubbing alcohol on a cotton ball or cloth. Gently dab the stain, working from the outside in to prevent spreading. For rubber soles, a magic eraser, baking soda paste, or even toothpaste can be effective at lifting scuffs and grime.
- Rinsing: Always rinse the area with a clean, damp cloth to remove any cleaning solution residue.
- Drying: Allow the shoes to air dry completely at room temperature. Avoid direct heat. For rubber soles, ensuring they are completely dry can prevent them from picking up dirt quickly.
Manufacturer Specifications: According to general manufacturer guidelines, most synthetic shoe components can be cleaned with a mild detergent and cool water. However, aggressive solvents or abrasive cleaners should be avoided to preserve the material's finish and structural integrity. This approach works well for sports shoes, fashion sneakers, and water-resistant footwear.
Common Stain Removal Mistakes to Sidestep
Even with the best intentions, it's easy to make missteps when trying to clean your shoes. Some common errors can lead to making a stain worse, damaging the material, or even ruining the shoe entirely. Being aware of these pitfalls can save you a lot of frustration and potential expense.
- Using the Wrong Cleaner for the Material: This is probably the most frequent mistake. A strong degreaser that works on a rubber sole can strip the life out of leather or mat down suede. Always confirm your shoe's material and select a cleaner appropriate for it.
- Rubbing Too Vigorously: While it might seem like scrubbing harder will get the stain out, it often just spreads the stain or damages the material fibers, especially on delicate fabrics like suede or mesh. Gentle blotting and targeted application are usually more effective.
- Soaking the Shoes: Unless the shoe is designed to be submerged (like some rubber boots), avoid soaking. Excessive water can weaken adhesives, cause leather to warp, and flatten the nap on suede and nubuck, leading to permanent marks.
- Using Heat to Dry: Putting shoes in a clothes dryer, near a radiator, or under direct sunlight can cause materials to shrink, crack, or warp. Natural air drying is almost always the safest and most effective method.
- Skipping the Spot Test: Before applying any cleaner to a visible part of your shoe, always test it on a small, inconspicuous area. This helps you catch any adverse reactions like discoloration or material damage before it's too late.
- Not Addressing Stains Promptly: The longer a stain sits, the harder it is to remove. Fresh stains are significantly easier to tackle than ones that have had time to set deep into the fibers.