How to Waterproof Trail Running Shoes
Hitting the trails often means encountering unexpected puddles, muddy sections, or sudden downpours. When your trail running shoes soak up water, it’s not just uncomfortable; it can lead to blisters, add weight, and make your feet colder, especially in cooler weather. That’s why learning how to waterproof trail running shoes is essential for any serious trail runner.
Properly treated footwear can keep your feet dry, reducing friction and helping you maintain a better pace and focus on your run, not your soggy socks.
Understanding the right approach ensures your shoes stay protected without sacrificing breathability, a common concern. According to many manufacturer specifications, effective waterproofing treatments aim to repel water while still allowing air circulation, a balance crucial for foot health on long runs. Let's break down how you can achieve this.
Quick Answer
To waterproof trail running shoes, first clean and thoroughly dry them. Then, apply a waterproofing treatment like a spray, wax, or sealant, ensuring even coverage. Allow the treatment to cure fully, typically 24-48 hours, before hitting the trails.
Reapply as needed, usually every few runs, to maintain protection.
Why Waterproof Your Trail Running Shoes?
When you're hitting the trails, the last thing you want is cold, wet feet. Properly treated shoes can significantly boost your performance and enjoyment, no matter the weather. They help keep your feet dry, reducing friction and helping you maintain a better pace and focus on your run, not your soggy socks.
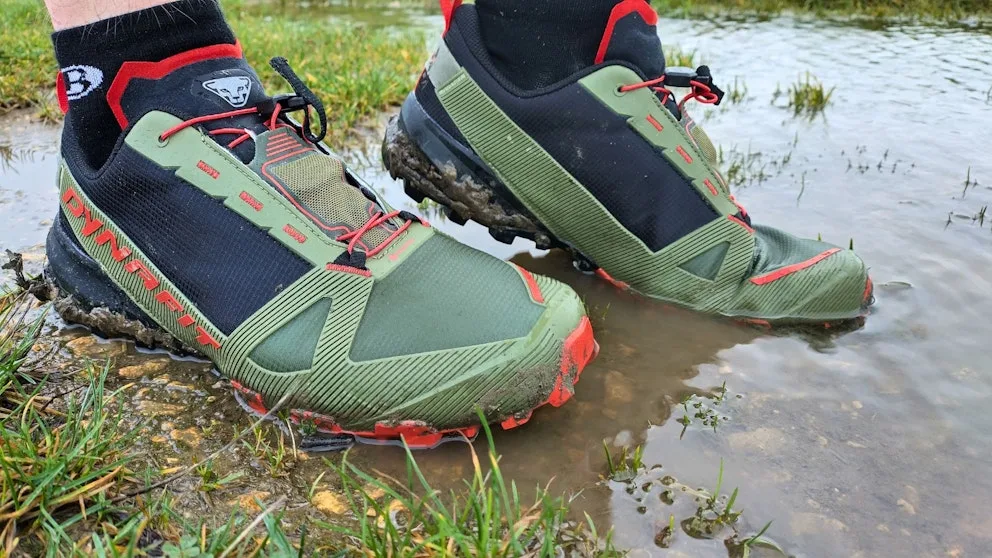
Image source: Bing (Web (fair-use with source credit))
The benefits go beyond just dry feet. Waterproofing can help your shoes last longer by preventing water damage to the materials. It also contributes to overall foot health by minimizing the risk of fungal infections that thrive in damp environments.
Think of it as an investment in your comfort and your gear's longevity.
Choosing Your Waterproofing Method: Spray vs. Wax vs. Sealant
When you decide to waterproof your trail runners, you've got a few main options, each with its own pros and cons. The best choice often depends on your shoe's material and how much protection you need.
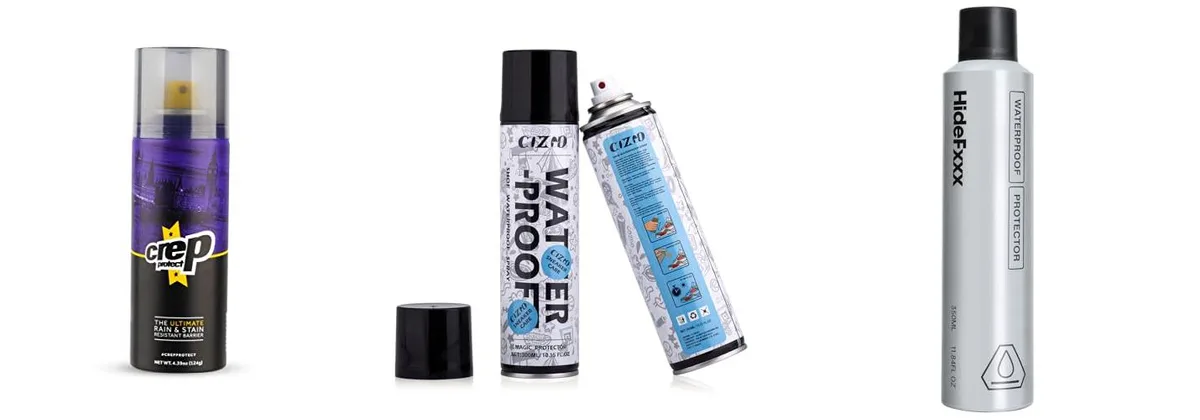
Image source: Bing (Web (fair-use with source credit))
Spray Treatments: Quick & Easy
Waterproofing sprays are typically aerosol cans containing a liquid treatment. They're super easy to apply, just a few sprays evenly over the shoe.
- Pros: Very fast application, good for mesh and fabric uppers, generally maintains breathability well.
- Cons: Offers the least durable protection, requiring frequent reapplication, may not be as effective against heavy saturation or submersion.
- Best For: Runners who need a quick touch-up before a run, shoes with a lot of mesh, or those who prefer a very light treatment that doesn't alter the shoe's feel.
Wax Treatments: Deep Protection
Waterproofing waxes often come in a solid bar or paste form and are applied by rubbing them directly onto the shoe material. They generally offer more robust protection than sprays.
- Pros: Provides more durable water repellency, good for synthetic leather and canvas materials, can fill small gaps.
- Cons: Can slightly darken lighter-colored shoes, might reduce breathability more than sprays if applied too heavily, requires a bit more effort to apply evenly.
- Best For: Shoes made of synthetic leather or canvas, or when you need more than just light water resistance for extended periods.
Sealants: Maximum Durability
Sealants are often liquid-based and can be applied with a brush or applicator. They aim to create a more robust, long-lasting barrier against water.
- Pros: Offers the longest-lasting protection, can provide a significant barrier against water and mud.
- Cons: Most likely to impact breathability, can alter the shoe's look and feel more noticeably, application can be messier.
- Best For: Shoes made of materials that can handle a thicker coating, or for extreme conditions where maximum water protection is the top priority, even at the cost of some breathability.
The Step-by-Step Waterproofing Process
Getting your trail running shoes ready for wet conditions involves a few key steps, from cleaning to application and curing. Doing it right ensures the treatment adheres well and provides the best protection.
Prep Work: Cleaning and Drying Your Shoes
Before you apply any waterproofing treatment, your shoes need to be clean and completely dry. Any dirt, mud, or debris can prevent the waterproofing agent from bonding properly to the shoe's material.
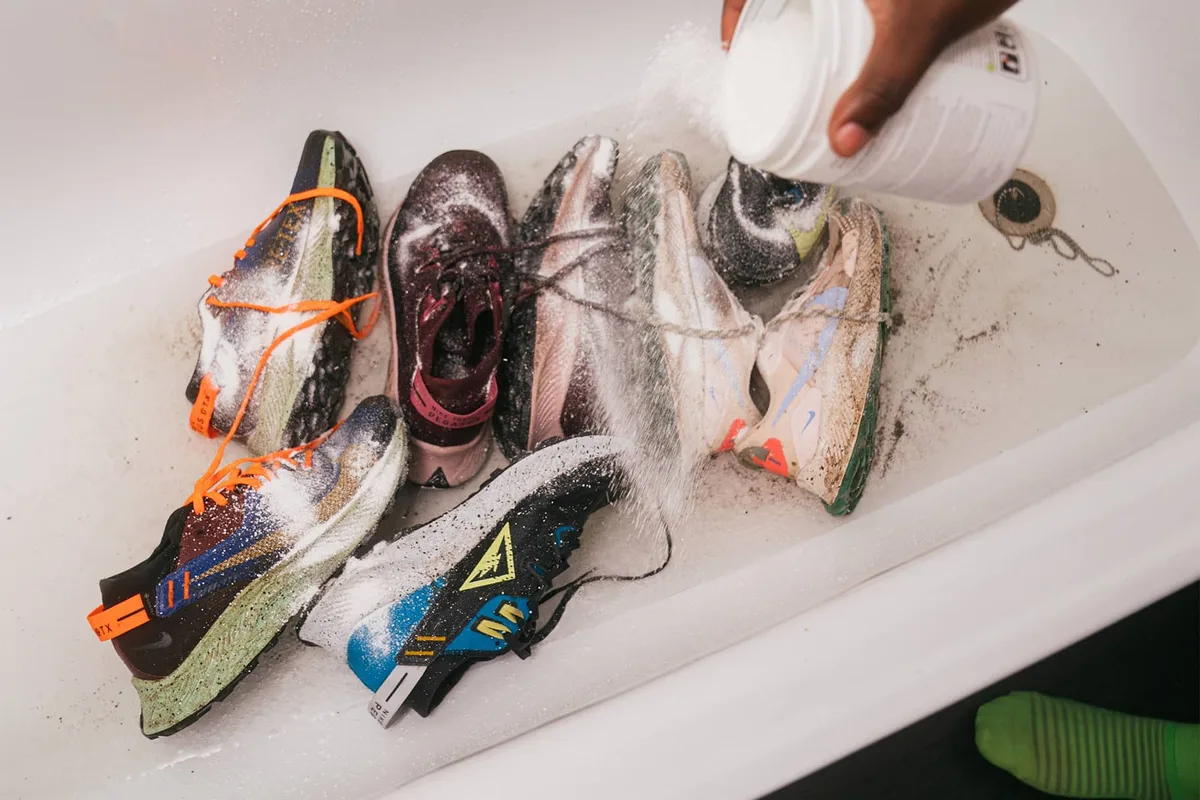
Image source: Bing (Web (fair-use with source credit))
- Remove Loose Dirt: Brush off any caked-on mud or dirt from the soles and uppers using a stiff brush. You can also use a damp cloth to wipe down the exterior.
- Wash if Necessary: For heavily soiled shoes, you might need to wash them. Use a mild soap or detergent and cool water. Avoid putting them in a washing machine or dryer, as high heat can damage the materials and adhesives.
- Air Dry Thoroughly: This is critical. Stuff the shoes with newspaper or paper towels to help them absorb moisture from the inside. Let them air dry completely in a well-ventilated area, away from direct sunlight or heat sources, which can degrade the materials. This can take 24 to 48 hours.
Application: Getting it Right
Once your shoes are bone dry, you can apply the waterproofing product. Always follow the specific instructions on the product you're using, as application methods can vary.
- Sprays: Hold the can about 6-8 inches away from the shoe and apply in a steady, even back-and-forth motion. Ensure you cover the entire outer surface, paying attention to seams and stitching. Apply a second light coat if recommended by the manufacturer.
- Waxes: Rub the wax bar or paste directly onto the shoe material. Use circular motions to ensure good coverage. For tougher materials, a soft brush can help work the wax into the fabric or seams.
- Sealants: Apply with the provided applicator or a clean brush. Work it into the material evenly, ensuring all areas are coated.
Curing and Testing
After applying your chosen treatment, patience is key. The product needs time to cure and form a protective barrier.
- Curing Time: Most waterproofing products require a curing period of at least 24 hours, and sometimes up to 48 hours, before the shoes are ready for use. During this time, the chemicals set and bond with the shoe material. Keep them in a dry, well-ventilated place.
- Testing: Once fully cured, you can test the waterproofing. Sprinkle a small amount of water onto the shoe. If it beads up and rolls off, the treatment is working. If the water soaks in, you may need another coat or a different product.
Common Mistakes When Waterproofing Trail Shoes
Even with the best intentions, a few common slip-ups can make your waterproofing efforts less effective or even damage your shoes. Knowing these pitfalls can save you time and frustration.
- Skipping the Cleaning Step: Applying waterproofing over dirt and grime is like painting over a dirty wall; it just won't stick or perform well. Dirt acts as a barrier, preventing the treatment from reaching the actual shoe material. Always start with clean, dry shoes.
- Incomplete Coverage: Missing spots, especially around seams, eyelets, and the tongue gusset, creates entry points for water. Water will find the easiest path, so ensure every inch of the shoe's exterior that you want protected is coated.
- Applying Too Much Product: Over-applying sprays or sealants, especially on more breathable materials like mesh, can clog the pores and drastically reduce breathability. This can lead to sweaty feet, discomfort, and even blisters. A thin, even coat is usually sufficient.
- Not Allowing Proper Curing Time: Rushing the curing process is a big mistake. The waterproofing agent needs adequate time to bond with the material. Using the shoes too soon means the treatment hasn't fully set, leading to premature wear and reduced effectiveness. Always check the product's recommended curing time.
- Using the Wrong Product for the Material: Not all waterproofing treatments are suitable for all shoe materials. A heavy wax might be great for synthetic leather but could damage delicate mesh or certain synthetic fabrics. Always check the product label for material compatibility.
When Do You Actually Need to Waterproof?
It's easy to think you always need to waterproof your trail running shoes, but the truth is, it depends on a few factors. Not every run requires this extra step, and over-treating can sometimes do more harm than good.
- Expected Conditions: If you know you'll be running through wet grass, muddy trails, or in rainy weather, then waterproofing is a good idea. For dry, dusty runs, it's generally unnecessary.
- Shoe Type: Some trail running shoes come with built-in water-resistant or waterproof membranes, like Gore-Tex. If your shoes already have this feature, they're likely water-resistant to a degree, and an additional treatment might not be needed or could even compromise the existing membrane's performance.
- Material of Your Shoes: Shoes with a lot of mesh might benefit more from a breathable waterproofing spray. Shoes with synthetic leather or canvas uppers can handle more robust treatments.
Manufacturer specifications often indicate if a shoe is designed for water resistance. For example, many running shoe brands list water-repellent features or materials in their product descriptions, which can guide your decision. Generally, if your shoes aren't explicitly marketed as waterproof or water-resistant, and you anticipate wet conditions, applying a treatment is worthwhile.
It's a proactive measure to enhance comfort and performance.
Maximizing Your Treatment: Care and Reapplication
Once you've gone through the process of waterproofing your trail running shoes, you'll want that protection to last as long as possible. Proper care and knowing when to reapply are key to keeping your feet dry run after run.
- Air Dry After Use: After any run, especially if your shoes got wet or muddy, clean off excess dirt and let them air dry naturally. Avoid stuffing them in a bag while still damp, as this can promote odor and mildew.
- Reapply Periodically: Waterproofing treatments don't last forever. Aggregate user feedback and manufacturer guidance suggest reapplication is typically needed every 3-5 runs, or more often if you're consistently running in very wet or muddy conditions. You'll notice the water is no longer beading up and is starting to soak into the material, that's your cue.
- Inspect Your Shoes: Regularly check the exterior of your shoes for signs of wear or where the treatment might be fading. Seams, toe caps, and areas that flex a lot often show wear first.
- Store Properly: When not in use, store your trail running shoes in a cool, dry place. Avoid damp basements or humid environments that can degrade the waterproofing treatment and the shoe materials themselves.
Consistent, light reapplication is usually better than waiting until the waterproofing has completely failed and then applying a heavy coat. This maintains a consistent level of protection without over-saturating the shoe materials.
Frequently Asked Questions About Waterproofing Trail Running Shoes
How long does waterproofing treatment last on trail running shoes?
Waterproofing treatment duration varies, but most treatments, like sprays and waxes, typically last for about 3 to 5 runs before needing reapplication. Heavier sealants might offer longer protection, but this often comes at the cost of breathability. Aggregate user feedback suggests that consistent reapplication after a few uses is key to maintaining optimal water repellency.
Can I waterproof my Gore-Tex trail running shoes?
While Gore-Tex is already a waterproof and breathable membrane, you can still apply a water-repellent treatment to the shoe's exterior. This helps water bead off the outer material, preventing the fabric from becoming saturated and maintaining the shoe's breathability. However, avoid using heavy waxes or sealants that could clog the Gore-Tex membrane itself.
Always check the shoe manufacturer's recommendations first.
Will waterproofing make my trail running shoes less breathable?
Yes, most waterproofing treatments can reduce breathability to some extent. Sprays generally have the least impact, while waxes and sealants can decrease airflow more significantly. This is a trade-off: increased water resistance often means slightly less ventilation, which can lead to sweatier feet in warmer conditions.
Choosing a treatment designed for athletic footwear can help minimize this effect.
How often should I clean my trail running shoes?
You should clean your trail running shoes after every run, especially if they've been exposed to mud or excessive dirt. A quick brush to remove loose debris is usually sufficient for dry conditions. For muddy or wet runs, a rinse with cool water and a gentle wipe-down is recommended.
Thorough washing is best reserved for heavily soiled shoes, and always allow them to air dry completely before storing or waterproofing.
Can I use household products to waterproof my trail running shoes?
It's generally not recommended to use household products like cooking oils or paraffin wax for waterproofing trail running shoes. These items may not be formulated for athletic footwear materials and could damage them, clog the pores, or create an uneven, ineffective barrier. Stick to products specifically designed for waterproofing shoes and apparel to ensure safety and performance.
What's the difference between water-resistant and waterproof?
Water-resistant means a material can repel some water for a limited time, but it will eventually soak through. Waterproof means the material creates a complete barrier against water penetration, even under sustained exposure. For trail running shoes, many treatments offer water repellency, not full waterproofing, striking a balance with breathability.
Fully waterproof shoes (like those with Gore-Tex) might still get water in from the top opening.