How to Break in Trail Running Shoes
You've just snagged a fresh pair of trail running shoes, and while they look amazing, they might feel a bit stiff. Learning how to break in trail running shoes properly is your ticket to happy feet on the trails. It means turning those new kicks into extensions of your own stride, free from blisters and discomfort.
Our research indicates that most trail running shoes, particularly those with more robust uppers and aggressive lug patterns, benefit from a gradual break-in period. While some models might feel comfortable right out of the box, many require a gentle introduction to mold to your unique foot shape and gait. This process typically involves a progression of low-impact activities before you tackle your first mountain ascent.
Quick Answer
Break in trail running shoes by wearing them around the house with your running socks. Follow this with short, easy walks and then very short, flat trail runs. Gradually increase mileage and terrain difficulty.
Avoid soaking or aggressively heating the shoes. Aim to feel no hot spots or discomfort.
Why Bother Breaking In Trail Runners?
The Problem: Stiff Shoes, Sore Feet
New trail running shoes, especially those designed for technical terrain, often feature stiffer materials in their uppers and midsoles to provide support and durability. This rigidity, while great for protecting your feet from rocks and roots, can lead to discomfort during initial use. Aggregate reviews report that without proper break-in, runners frequently experience rubbing, pressure points, and hot spots, particularly around the heel, toe box, and instep areas.
The Goal: Comfortable, Blister-Free Miles
The primary objective of breaking in your trail runners is to achieve a comfortable, personalized fit that prevents injuries. This means allowing the shoe’s materials to soften and flex naturally with your foot's movement. Manufacturer specifications often suggest a wear-in period to ensure optimal performance, as a shoe that’s too stiff can alter your natural gait, potentially leading to longer-term issues beyond just blisters.
As of 2026, consistent reports highlight that neglecting this phase can significantly detract from the enjoyment and effectiveness of your trail running experience.
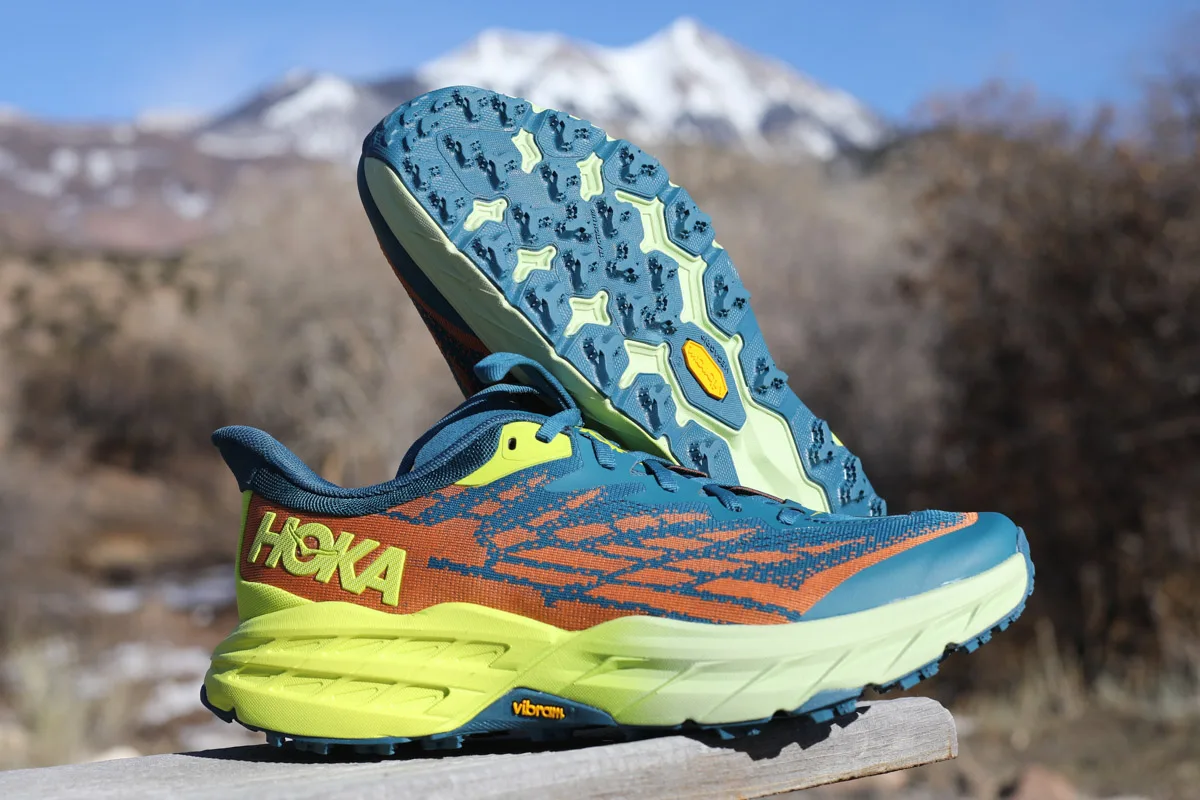
Image source: Bing (Web (fair-use with source credit))
Your Break-In Blueprint: The Step-by-Step Process
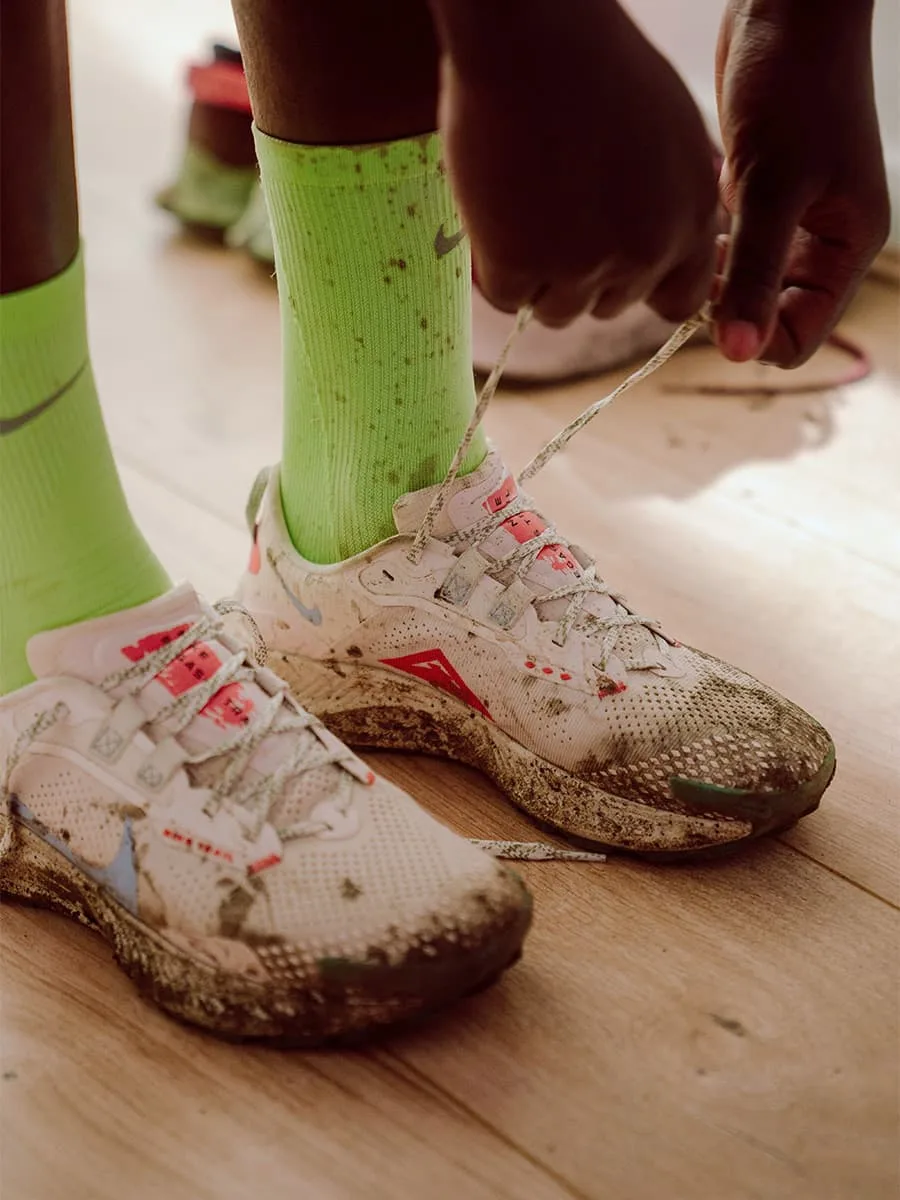
Image source: Bing (Web (fair-use with source credit))
This is where the real work begins, and it's all about a gradual approach. Think of it as a phased introduction rather than a one-time event. We're not trying to rush anything, just gently coaxing those new shoes into becoming your trusted trail companions.
Phase 1: The Gentle Introduction (Indoors)
Before you even think about hitting the dirt, let's get your new trail runners acquainted with your feet in a controlled environment. This phase is crucial for identifying any immediate fit issues without the added impact of running.
- Wear Them Around the House: Put on your trail running shoes with the socks you typically use for running. Spend a few hours each day wearing them while doing everyday activities like chores, working from home, or relaxing. This allows the shoe’s materials to begin conforming to the unique shape of your feet.
- Assess Initial Comfort: Pay close attention to how they feel. Are there any areas that feel overly tight, pinch, or rub? Note down any spots that seem to cause pressure. This is your first opportunity to catch potential problems before they become major issues on the trail.
- Gentle Manual Flexing: With your shoes off, you can gently flex them with your hands. Bend the soles where your foot naturally bends. This helps to loosen up the sole and upper materials, encouraging flexibility without stressing the shoe unnaturally. Don’t force anything; just feel the natural points of flexion.
Phase 2: Short, Easy Outings
Once your trail running shoes feel reasonably comfortable and pressure-free during your indoor wear-in sessions, it’s time to take them outside. The key here is to keep these initial excursions short and low-impact.
- Start with Walks: Take your shoes for brisk walks on pavement or smooth, hard surfaces. A 20-30 minute walk is usually sufficient for this stage. This allows your feet to move within the shoes under mild stress, further aiding the molding process.
- Try a Very Short, Flat Run: If walks feel good, progress to a short, easy run, no more than 1-2 miles. Stick to familiar, flat terrain like a local park path or a treadmill. The goal isn't speed or distance; it's simply to introduce the impact of running to the shoes and your feet together.
- Listen to Your Feet: During these outings, continue to be hyper-aware of any sensations. Are new hot spots developing? Do any areas feel stiff or restrictive when you run? If you notice any discomfort, it’s best to shorten the activity and return to indoor wear for a bit longer.
Phase 3: Gradual Trail Time
Now you’re ready to introduce your trail running shoes to their intended environment. This phase involves progressively exposing them to actual trail conditions, mimicking the types of runs you’ll eventually do.
- Short, Easy Trail Runs: Begin with runs on less technical, well-maintained trails. Think about groomed paths or trails with gentle elevation changes. Aim for sessions of 2-4 miles. This allows the shoes to interact with uneven surfaces and feel how the lugs perform.
- Monitor for Discomfort: If you experience any persistent rubbing or pinching during these trail runs, don't push through it. Consider ending the run a bit early and perhaps adding another indoor session or a shorter walk. It’s better to slightly prolong the break-in than to risk a painful blister.
- Progressively Increase Intensity: As you complete several comfortable, short trail runs, you can gradually increase the duration and then the technical difficulty of your routes. Move towards longer distances and more varied terrain, always checking in with your feet.
What to Watch For: Your Foot's Feedback
Your feet are the best indicators of how your new trail running shoes are breaking in. Paying close attention to the sensations they send you is more important than any mileage count. This feedback loop helps you adjust the process for the best results.
Spotting Hot Spots and Pressure Points
Hot spots are areas on your foot that feel warm, slightly irritated, or like they're developing friction. They are the early warning signs that a blister might be forming. Manufacturer specifications for running shoe fit emphasize that any such warmth or localized pressure that persists for more than a few minutes should be addressed.
- If you feel a hot spot:
- Stop running immediately.
- Check the area on your foot and inside the shoe for rubbing.
- You might need to adjust your socks, lacing, or take a break from wearing the shoes for a day.
- Pressure points are similar, but they feel like specific areas where the shoe is too tight or digging in, without necessarily the warmth of friction. These can occur over the toes, the sides of the foot, or the top of the arch.
The Role of Your Running Socks
The socks you wear play a surprisingly significant role in how your new trail running shoes feel and break in. They act as a crucial interface between your foot and the shoe, influencing friction, moisture management, and overall fit.
- Sock Thickness: Thicker socks can make a snug shoe feel too tight, while thin socks might not provide enough cushioning or padding, potentially exacerbating friction points.
- Material: Always break in your shoes with the same type of socks you plan to run in. Synthetic blends or merino wool are generally recommended for trail running as they wick moisture better than cotton, reducing the risk of blisters.
- Seams: Check your socks for bulky or irritating seams that could cause rubbing.
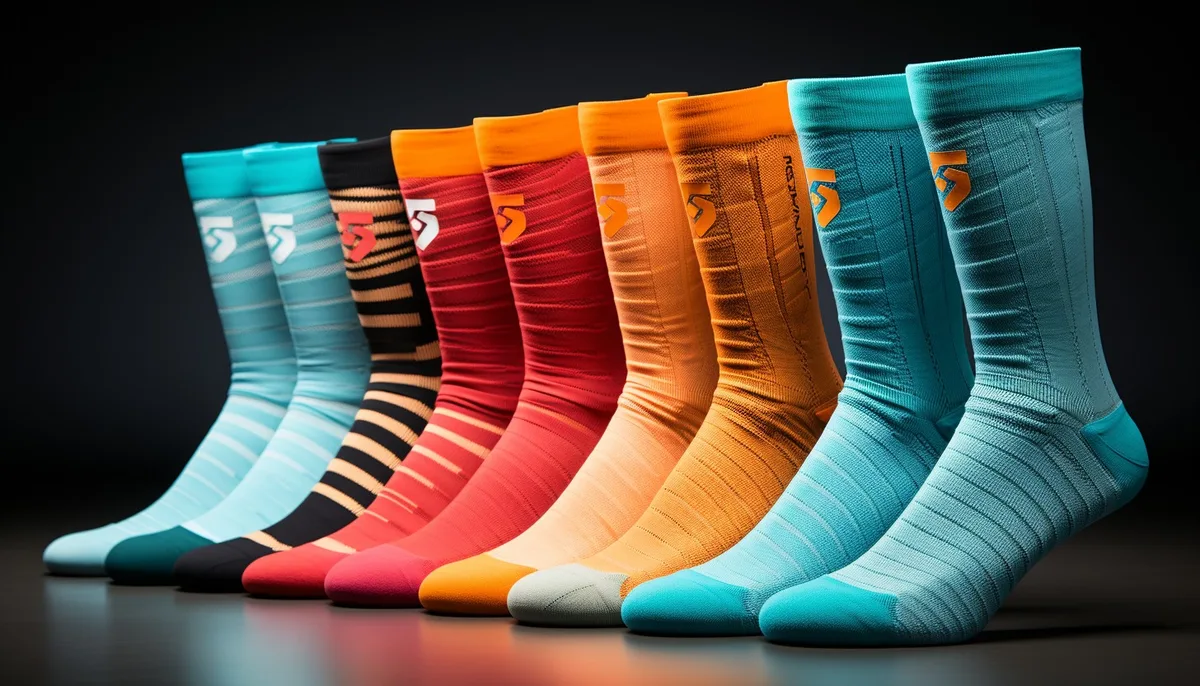
Image source: Bing (Web (fair-use with source credit))
Common Break-In Mistakes to Sidestep
Even with the best intentions, it's easy to fall into common traps when breaking in new trail running shoes. Avoiding these pitfalls will save you from unnecessary discomfort and potential injury down the line.
What NOT to Do with New Trail Shoes
- Soaking the Shoes: Resist the urge to submerge your new shoes in water to speed up the softening process. Manufacturer guidelines consistently advise against this, as excess moisture can damage adhesives and alter the shoe's structural integrity, compromising its support and durability.
- Aggressive Heat Application: Trying to "bake" the shoes or using high heat from a hairdryer can also degrade the materials. This can weaken the shoe's construction, leading to premature breakdown and reduced performance. The goal is natural molding, not forced deformation.
- Immediate Long or Technical Runs: Jumping into a long endurance run or tackling a particularly challenging, rocky trail on your first outing is a recipe for blisters and foot pain. The shoes haven’t had enough time to adapt to your feet and the terrain.
- Wearing the Wrong Socks: As mentioned, using socks that are too thin, too thick, or made of cotton can completely change the fit and feel of the shoe, hindering the break-in process and potentially causing irritation. Always use your intended running socks.
How Many Miles Until They're Ready?
Figuring out when your trail running shoes are finally broken in can feel a bit subjective, but there are good indicators. It's less about hitting an exact number of miles and more about how your feet feel.
Gauging When Your Shoes Feel "Broken In"
Generally, most trail running shoes require between 20 to 50 miles of wear to feel fully broken in. This mileage range is an aggregate finding from user feedback and manufacturer recommendations. However, this can vary significantly based on the specific shoe’s construction and the runner’s individual foot mechanics.
- The Primary Indicator: The most reliable sign is when you can put your shoes on and head out for a run, any run, of any typical length or difficulty for you, without thinking about your feet. You shouldn't experience any new hot spots, pressure points, or stiffness.
- Consistent Comfort: You'll notice a consistent, almost imperceptible comfort. The shoes will feel like a natural extension of your feet, providing the expected support and cushioning without any awkward sensations.
- Flexibility: The shoe’s sole will feel more flexible and conform to your foot’s natural roll. The upper materials will have softened and adapted to your foot’s shape. If you can forget you're wearing them, they’re likely ready.
What if I Develop a Blister During the Break-In Process?
If you develop a blister, stop your activity immediately. Clean the area gently and apply an appropriate dressing. Re-evaluate your break-in approach: ensure you’re using the right socks, consider if the shoes are too tight, or take a longer break from wearing them.
Address the cause before resuming the break-in.
- If a hot spot appears during a walk or run: This is a clear signal the shoe is rubbing. You might need to adjust your lacing pattern to relieve pressure in that specific area. Some runners find that slightly loosening the laces over the top of the foot helps.
- Blister prevention: The best approach is prevention. Pay close attention to any early signs of irritation and stop before a blister forms. This might mean cutting an early run short or adding another day of indoor wear.
Does the Material of the Shoe Affect Break-In Time?
Yes, shoe materials significantly impact break-in time. Shoes with stiffer, more durable materials like robust synthetic uppers or dense midsole foams might require a longer break-in period than those with more flexible, softer constructions. Always refer to manufacturer specifications if available for guidance.
- Synthetic Uppers: Many modern trail runners use engineered mesh or synthetic overlays. These generally break in faster than traditional leather but can still have stiff sections.
- Midsole Foams: Different foam densities and types (like EVA or TPU) will have varying break-in characteristics. Firmer foams might take longer to soften.
- Outsole Rubber: The rubber compound used for the outsole can also affect initial stiffness, though this typically has less impact on immediate comfort than the upper and midsole.
What Kind of Socks Should I Use for Breaking In Shoes?
You should always break in your new trail running shoes with the same type of socks you plan to wear for actual runs. This is because socks affect the fit and can introduce or prevent friction.
- Recommended Materials: Opt for synthetic blends or merino wool socks. These materials are excellent at wicking moisture away from your skin, which is crucial for preventing blisters.
- Avoid Cotton: Cotton socks absorb sweat and hold it against your skin, increasing friction and the likelihood of developing hot spots and blisters.
- Consider Thickness: The thickness of your sock can make a snug shoe feel too tight. If your shoes feel a bit snug with your usual running socks, consider trying a slightly thinner sock for the initial break-in, or vice versa if they feel loose.
Frequently Asked Questions About Breaking In Trail Shoes
### How long does the break-in process typically take?
The break-in period for trail running shoes usually takes between 20 to 50 miles of cumulative wear. This includes time spent wearing them around the house, short walks, and progressively longer runs. The exact duration depends heavily on the shoe's construction and your individual foot shape.
### Can I wear my new trail shoes for a race right away?
It's strongly advised against wearing brand-new trail running shoes for a race. The risk of blisters and discomfort is too high. Always ensure your shoes are well broken in through several shorter runs on varied terrain before committing them to a race where performance and comfort are critical.
### What if I develop a blister during the break-in process?
If you develop a blister, stop your activity immediately. Clean the area gently and apply an appropriate dressing. Re-evaluate your break-in approach: ensure you’re using the right socks, consider if the shoes are too tight, or take a longer break from wearing them.
Address the cause before resuming the break-in.
### Does the material of the shoe affect break-in time?
Yes, shoe materials significantly impact break-in time. Shoes with stiffer, more durable materials like robust synthetic uppers or dense midsole foams might require a longer break-in period than those with more flexible, softer constructions. Always refer to manufacturer specifications if available for guidance.

One Comment