How to Break in New Shoes
So, you've got a new pair of shoes that feel less like a treat for your feet and more like tiny torture devices? That's a common hurdle, and knowing how to break in new shoes the right way can save you a lot of pain. It's not about enduring discomfort; it's about guiding your footwear to mold perfectly to your foot shape.
As of 2026, manufacturer specifications for many shoe types, particularly those made from substantial leather, recommend a break-in period to achieve optimal fit and prevent premature wear. This process involves a series of careful steps to soften materials and encourage flexibility without damaging the shoe's structure.
Quick Answer
Break in new shoes by wearing them around the house with thick socks. Apply gentle heat to tight spots. Flex and massage the shoes often.
Wear them for short walks first. Avoid forcing them.
Why New Shoes Can Be a Pain (And Why You Should Care)
New shoes, especially those crafted from robust materials like thick leather, often feel stiff and unforgiving right out of the box. This initial rigidity can lead to discomfort, chafing, and even painful blisters, making even short outings an unpleasant experience. If you've ever bought a pair of dress shoes or sturdy boots that felt like they were made of cardboard, you know exactly what we're talking about.
The problem isn't necessarily the shoe itself, but its unyielding state before it’s had a chance to adapt to your foot's contours.
Ignoring this can have consequences beyond just temporary pain. Aggressively forcing stiff shoes or trying to stretch them too quickly can actually compromise their construction and shorten their lifespan. Think of it as training for your feet and your footwear.
You want them to work together comfortably and efficiently for years to come.
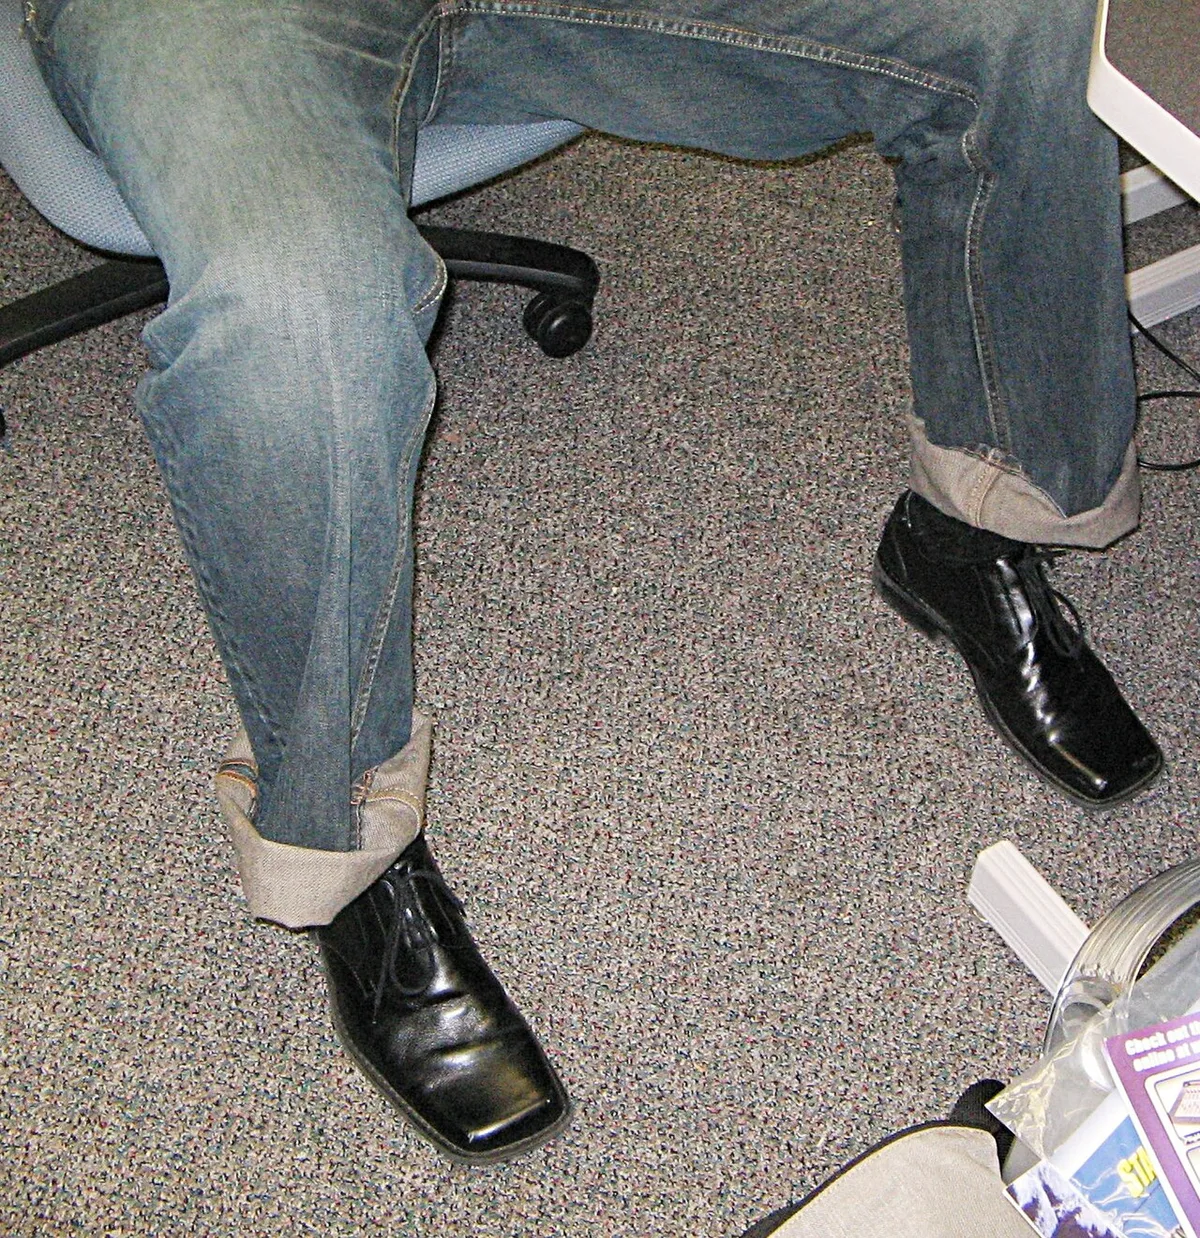
Image source: Wikimedia Commons / Kurt Nordstrom (CC BY)
Your New Shoes: Leather or Something Else?
The material your new shoes are made from is the biggest factor in how you should approach breaking them in. Different materials have different properties, some are naturally more flexible, while others require a more deliberate softening process. Getting this right ensures you're using the most effective and safest methods for your specific pair.
- Leather: This is the classic material that often needs the most attention. Leather is durable and can mold beautifully to your foot over time, but it starts out stiff. The thickness and type of leather will influence how long this takes and what methods work best.
- Canvas: Generally much softer and more pliable than leather, canvas shoes often require minimal break-in. Wearing them around the house is usually sufficient.
- Synthetics: Depending on the specific synthetic, these can range from very flexible to quite stiff. Always check manufacturer guidance if available, but often a gentler approach works well.
If your shoes are primarily leather, especially thicker cuts, you'll likely need to invest a bit more time and effort. If they're canvas or a softer synthetic, you might be able to skip some of the more intensive steps.
Breaking In Stiff Leather Shoes: The Step-by-Step Guide
When you're dealing with a pair of shoes that feel particularly rigid, particularly sturdy leather dress shoes or boots, a methodical approach is key. This isn't about brute force; it's about patient persuasion of the material to conform to your foot. You'll be combining gentle wear with targeted techniques to soften and stretch the leather effectively.
Wearing Them Around the House: The Gentle Start
This is your foundational step for any new leather shoe. Before you even think about wearing them out for a full day, start by wearing them for short periods inside your home. Put them on while you're relaxing, watching TV, or doing light chores.
The goal here is to let the shoes begin to adapt to your foot's natural shape without the added pressure of prolonged walking or standing. Pay close attention to any areas that feel tight, pinch, or rub. These are the spots you'll want to focus on in later steps.
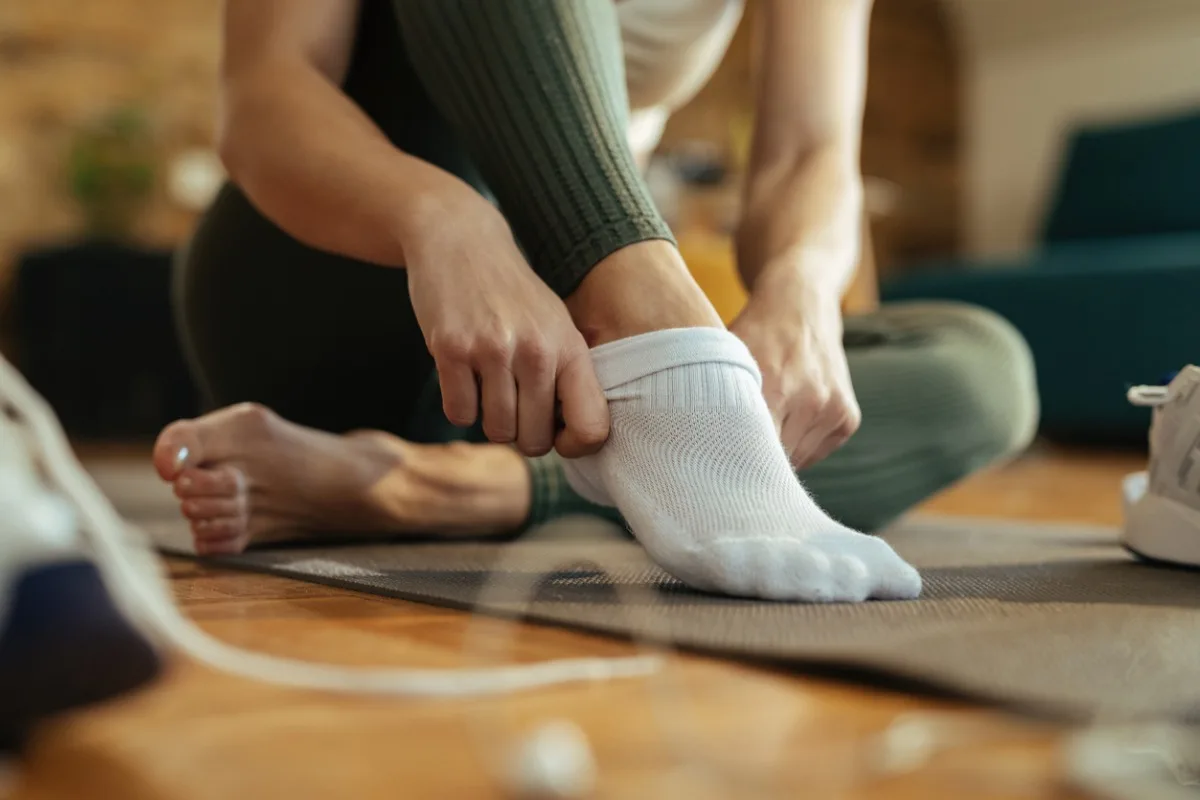
Image source: Bing (Web (fair-use with source credit))
This initial indoor wear helps ease the leather into a more flexible state. It's a low-risk way to identify problem areas before you commit to a full day of walking. Many manufacturers, including those producing high-quality Italian leather footwear, suggest this initial acclimatization period as crucial for comfort.
Thick Socks & Hair Dryer: Targeting Tight Spots
This is a go-to method for tackling specific areas of tightness in leather shoes. It uses warmth to make the leather more pliable, allowing it to stretch around your foot's shape.
- What you'll need: A pair of thick socks (the thicker, the better!) and a hairdryer.
- How to do it:
- Put on the thick socks, then put on your shoes. It's going to feel snug, maybe even a bit too snug, that's the goal.
- Use the hairdryer on a medium heat setting. Keep the dryer moving to avoid overheating any single spot, which could damage the leather. Aim it at the areas of the shoe that feel the tightest.
- While the leather is warm and pliable, flex your feet, bend your toes, and walk around in the shoes. This encourages the leather to stretch and mold to your foot's specific contours.
- Keep the shoes on until they cool down completely. This helps the leather set into its new, stretched shape.
Repeat this process a few times over a couple of days, focusing on the exact spots that felt uncomfortable during your initial indoor wear.
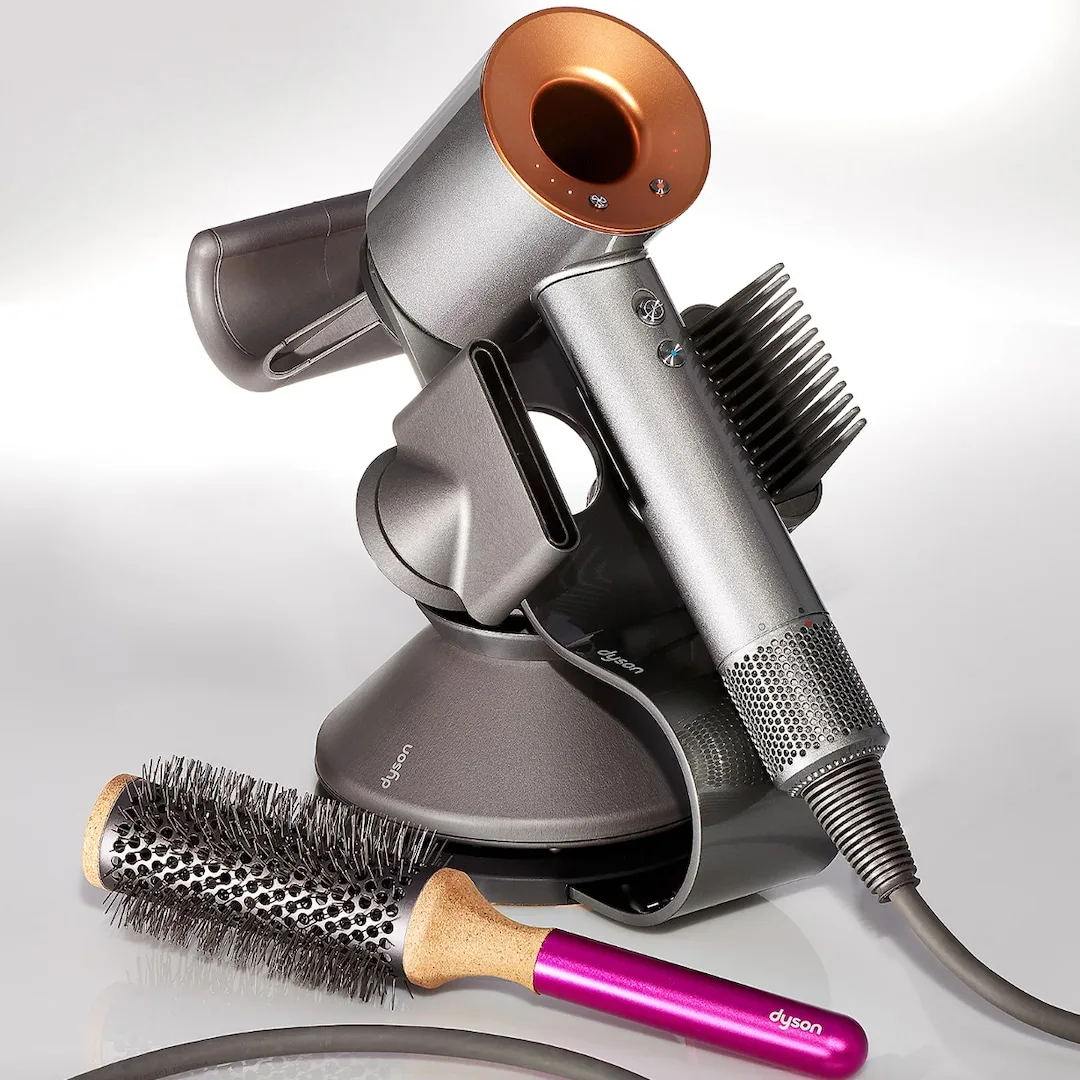
Image source: Bing (Web (fair-use with source credit))
A word of caution: always use medium heat and keep the dryer moving. Overheating can dry out, crack, or discolor the leather.
Bend and Flex: Softening Soles and Construction
Sometimes, it's not just the upper material that feels stiff, but the entire shoe structure, including the sole and the way it bends. This method helps to loosen up these more rigid components, making the entire shoe feel more natural on your foot.
- How to do it:
- Take the shoes off.
- Gently bend the soles of the shoes. Try to crease them where your foot naturally bends when you walk. You can do this by holding the shoe and pushing the toe and heel towards each other.
- Slightly twist the shoes. Don't force this to an extreme, just enough to feel some give in the construction.
- You can also gently massage the leather with your hands. This helps to manually soften and break down the leather fibers, making them more supple.
This technique helps to mimic the natural wear and tear that happens over time, but in a controlled way. It’s about preparing the shoe for movement, making it more ready to flex and adapt with your stride.
When to Consider a Shoe Stretcher or Cobbler
If, after wearing them around the house and using the hair dryer method, you still find specific areas that are uncomfortably tight, it might be time to bring in some specialized help. Shoe stretchers are tools designed to apply gradual pressure to specific points within the shoe.
- Shoe Stretchers: These devices insert into the shoe and expand, gently pushing out tight areas. You can find stretchers that target length, width, or even specific pressure points, like where a bunion might rub. To use one, insert it into the shoe and gradually increase the tension over a day or two. It’s crucial to do this slowly; forcing the stretcher can damage the shoe.
- Professional Cobbler: For very expensive, delicate, or structurally complex shoes, or if you're hesitant to try stretching yourself, a professional cobbler is your best bet. They have specialized equipment and expertise to stretch shoes safely and effectively without causing harm to the material or construction. They can often identify and address issues you might not notice.
Choosing between these depends on the value of the shoe and your comfort level with DIY methods.
Breaking In Canvas, Synthetic, and Lighter Leather Shoes
If your new footwear isn't made of thick, stiff leather, the break-in process is usually much more straightforward. These materials tend to be more forgiving and require less intensive effort. Think of your canvas sneakers, lighter leather loafers, or many synthetic athletic shoes.
For these types of shoes, the primary method is simply wearing them. The best approach is often to start with shorter durations.
- Wear them around the house: This is almost always enough for these less rigid materials. Wear them for a few hours at a time while you're doing everyday activities. This allows them to slowly adapt to the unique shape of your foot without the added stress of being out and about.
- Short walks: Once they feel more comfortable indoors, take them out for short excursions. A quick walk to the mailbox, a trip to the local grocery store, or a short stroll in the park are great first outings. Gradually increase the distance and duration of your walks as the shoes continue to feel better.
If you do notice any spots that start to rub or chafe, even with softer materials, you can employ simple remedies like applying a band-aid or moleskin to the inside of the shoe at the friction point, or directly onto your foot before wearing the shoes. Sometimes, a gentle smoothing of a seam or a slight push on a stiff edge with your thumb can make a difference. The key is to address minor discomforts early before they become major issues.
Common Mistakes to Avoid When Breaking In Shoes
Even with the best intentions, there are a few common missteps people make that can turn a shoe-breaking-in process into a painful ordeal or even damage their new footwear. Being aware of these pitfalls can save you time, money, and a lot of discomfort.
- Suffering Through It: The most common mistake is thinking you just have to tough it out. Blisters and raw spots are not a sign of progress; they're a sign that something needs to change. If it hurts, take the shoes off and reassess your approach. Pushing through pain often leads to more severe issues.
- Soaking the Shoes in Water: Unless a specific shoe care guide explicitly recommends it for a particular material (which is very rare), avoid soaking your shoes in water. This can damage leather by drying it out excessively once it dries, weaken adhesives, and potentially alter the shoe's structure in unwanted ways.
- Using Extreme Heat: While gentle heat from a hairdryer can help, using extreme heat sources like ovens or microwaves is a definite no-go. These methods can permanently damage, warp, or even melt the materials of your shoes. Always err on the side of caution with heat.
- Aggressive, Sudden Stretching: Trying to force shoes to stretch too much, too quickly, can weaken the leather, split seams, or damage the sole. Patience is crucial. Gradual adaptation is always better than forceful, rapid changes, especially with quality footwear.
Expert Tips for a Smoother Break-In Process
To really nail the shoe-breaking-in process and get your new footwear comfortable quickly and safely, a few expert-backed strategies can make all the difference. These tips focus on proactive care and smart techniques that leverage the properties of different shoe materials.
- Inspect Before You Begin: Before you even put them on, examine your shoes for any obvious flaws like uneven stitching or glue spots that might cause friction. Addressing these minor issues early can prevent bigger problems later.
- Consider Moisture-Wicking Socks: When wearing shoes around the house or for initial short walks, opting for moisture-wicking socks can help manage sweat, which can sometimes contribute to friction and discomfort. This is especially true for longer break-in periods.
- Condition Leather Regularly: For leather shoes, using a good quality leather conditioner after the initial break-in period (and periodically thereafter) will help keep the material supple and prevent it from drying out, which can lead to cracking. Always test conditioners on an inconspicuous spot first.
- Rotate Your Footwear: If you're breaking in a pair of shoes that are part of your regular rotation, don't wear them every single day from the start. Rotate them with shoes that are already comfortable to give your feet and the new shoes a break. This allows the shoes to rest and recover their shape between wears.
Frequently Asked Questions About Breaking In Shoes
How long does it typically take to break in new shoes?
The time varies greatly depending on the shoe material and construction. Stiff leather boots might take 10-20 hours of wear spread over several weeks, while canvas sneakers might only need a couple of hours of wear around the house.
Can I wear my new shoes in the rain to break them in?
Generally, no. Exposing new leather shoes to excessive moisture can damage the material, alter its shape, and weaken adhesives. It's best to break them in during dry conditions.
What if my shoes are tight in one specific spot?
You can use the thick socks and hairdryer method, focusing the heat on that exact tight area. Alternatively, a shoe stretcher with a spot-stretching attachment can be very effective for targeted pressure.
Is it okay to use rubbing alcohol to break in shoes?
Using rubbing alcohol is sometimes suggested for stretching leather, but it can be very drying and potentially damage the leather's finish. It’s a riskier method and generally not recommended over gentler techniques like those involving heat or mechanical stretching.

2 Comments